VXDIAG Tech2win GM Crankshaft Position Relearn
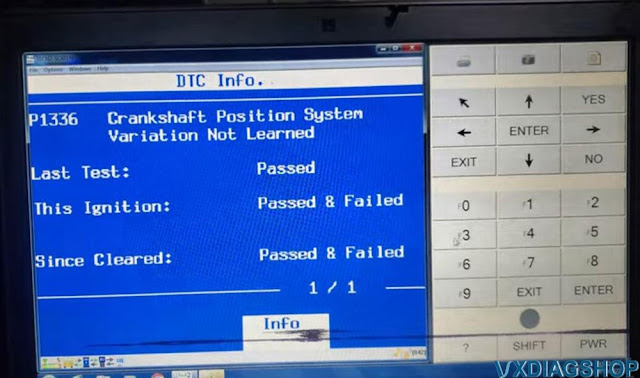
When a Crankshaft Position Sensor or or PCM is replaced this procedure must be done to clear the check engine light (p1336 DTC). It's very easy using tech2win and a vxdiag vcx nano gm scan tool as shown.
We're going to make a quick tutorial on how to reset the check engine light
for DTC 1336. that usallay means that the engine requires a crank position
relearn.
This happens when you reset the ECM or reprogram it.
I got the old Dell laptop fire up. How to do that real quick with the Teh2win using vxdiag vcx nano for gm.
This is a j2534 scan tool you can get on vxdiagshop.com for like 119 bucks.
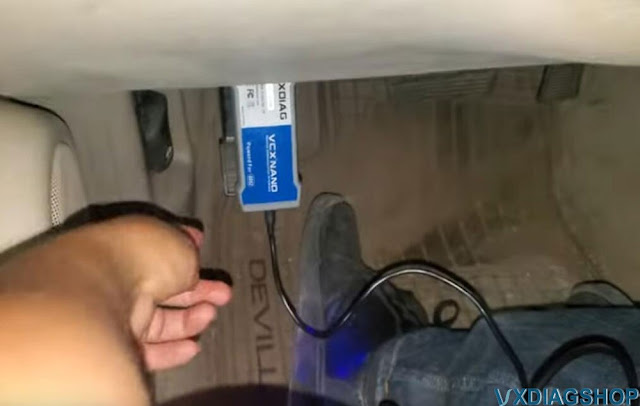
It's plugged into my pc right now and we're going to go ahead and show you how to do a crank position relearn.
So you go to tech2win-> North American and select MDI interface.
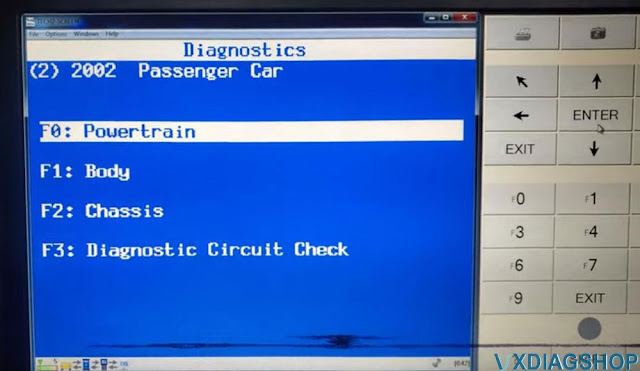
Select Diagnostics
Select model year select 2002 because it's a 2002
passenger car
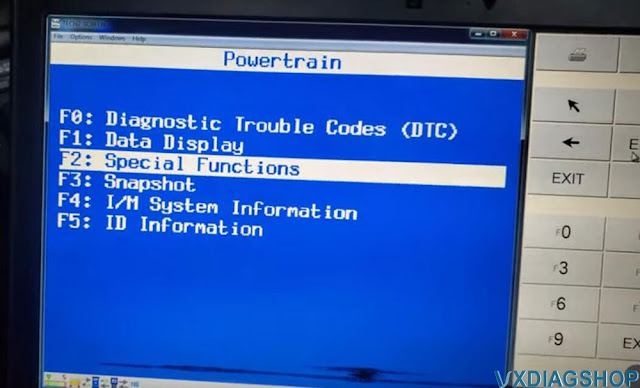
Select powertrain
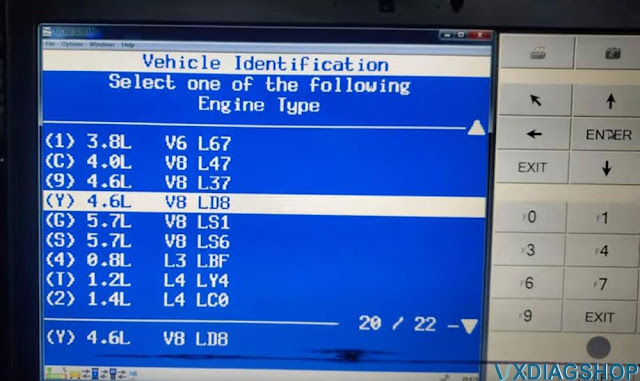
Select engine type, here 4.6L V8 L37
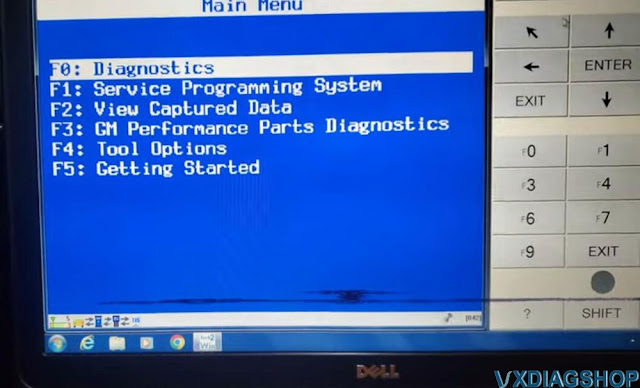
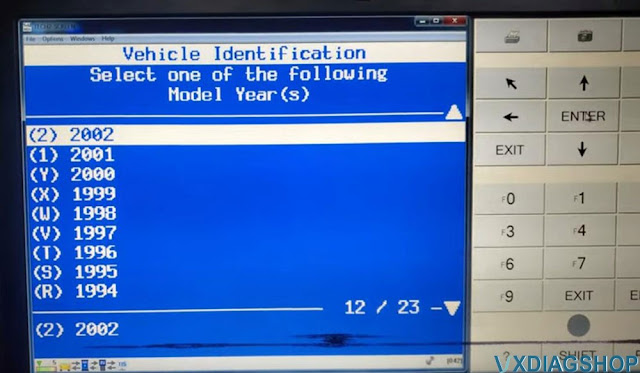
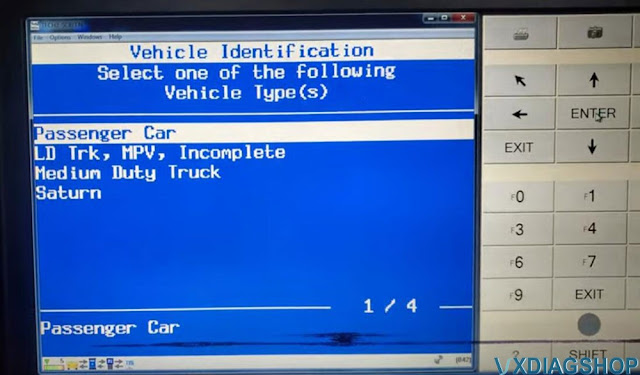
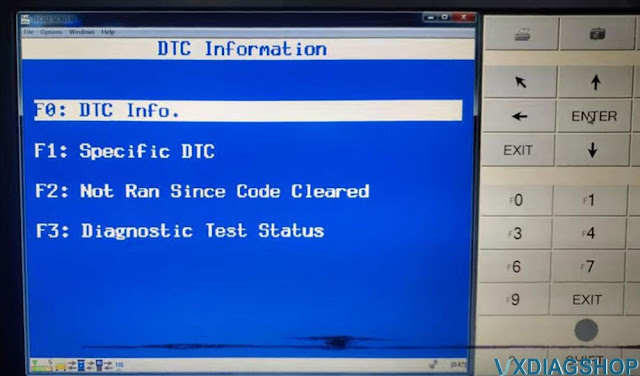
Read DTC
Fault code: P1336 Crankshaft Position System Variation Not
Learned
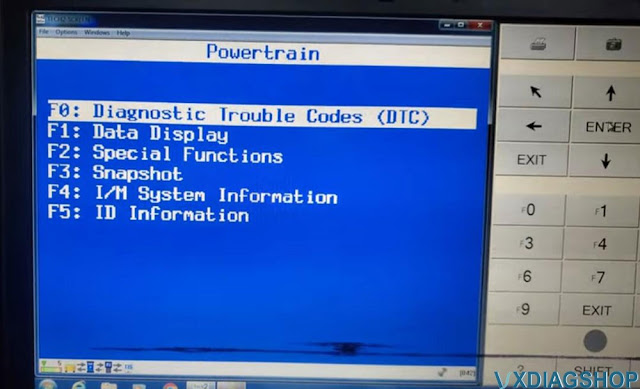
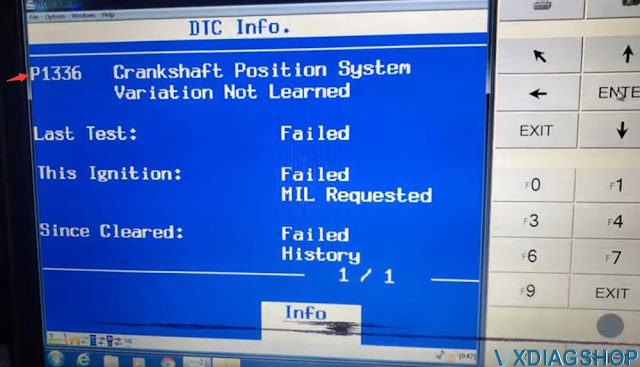
Go back to Powertrain menu
Select Special Function
Select F4:
Crankshaft position variation learn
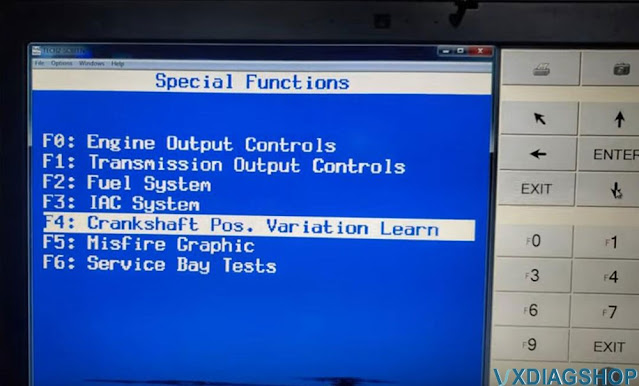
Because we have a v8 if the cutoff is 4000 rpm if you have a v6 it's 5150 RPM.
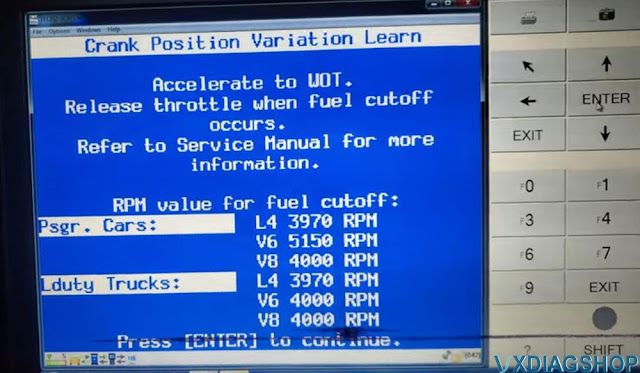
it's a 3970 so that seems good to know anyway push enter and just not yeah whatever block drive wheels set parking brake
do not apply brake pedal and then we're gonna go ahead and cycle the ignition on and then off again, and push enter, press and hold and start the engine.
so we should be able to do that checking 24x crank signal test in progress.
I just read it to 4000 rpm you probably heard it.
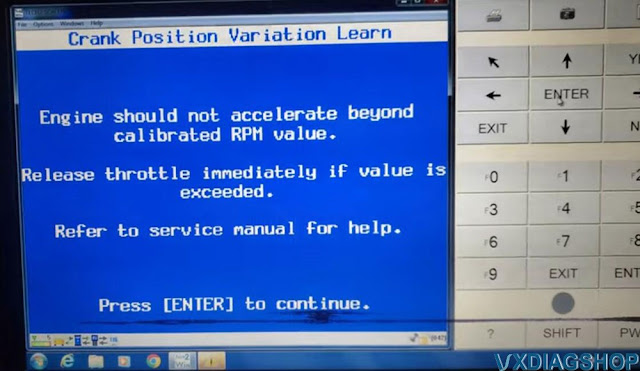

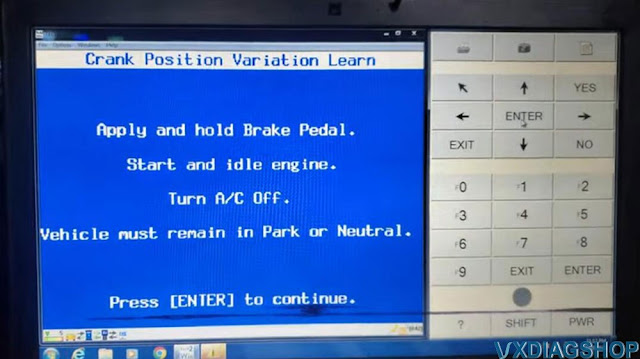
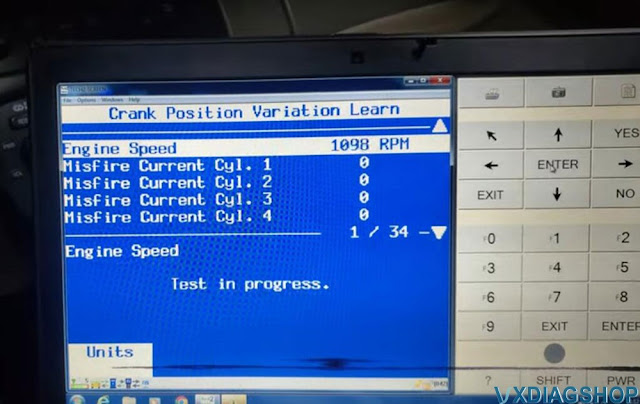
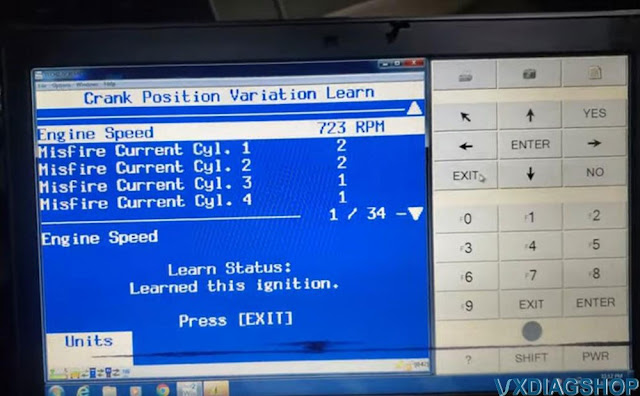
there learn this ignition so we're just going to click exit and that's all there is to it it's really freaking easy.
it just tells you to floor it and then once it the fuel cutoff happens you just let go that's it that's literally it
so just to prove it actually wrong thing to prove it i'm going to go ahead and clear that dtc and it will not come back.


https://www.vxdiagshop.com/service/gm-crankshaft-position-relearn-with-vxdiag-tech2win.html
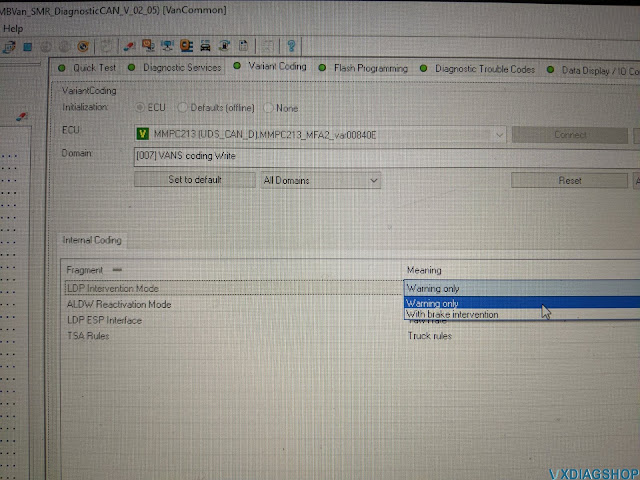
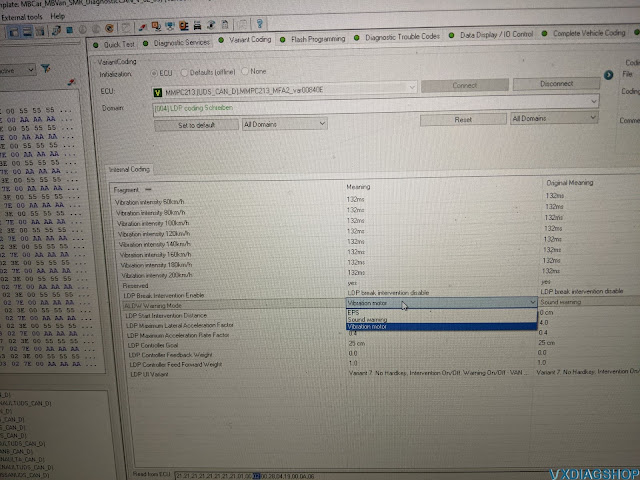
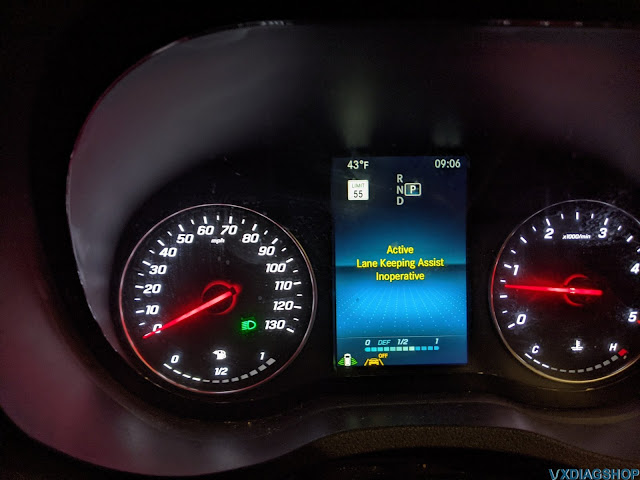
DTS Monaco Disable Sprinter Lane Keep Assist
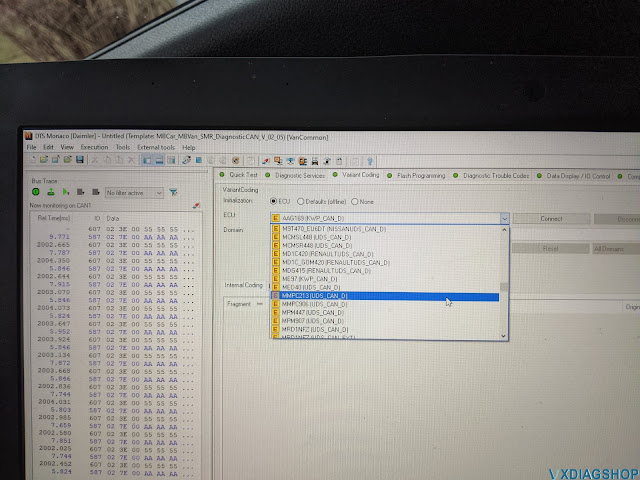
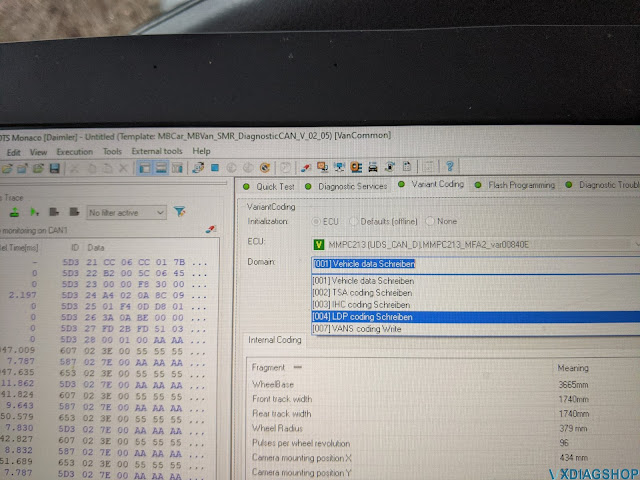
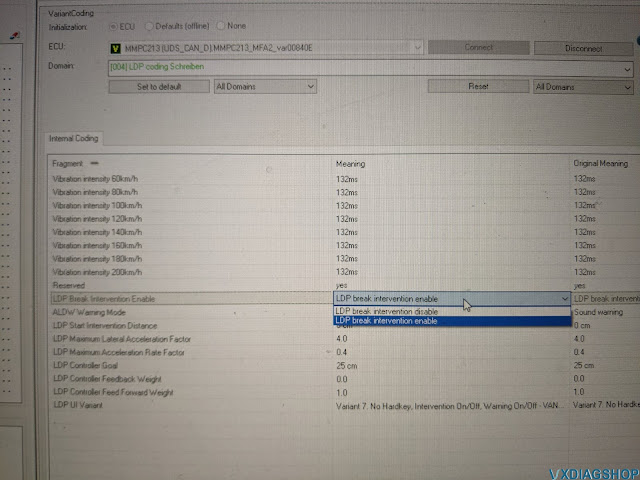
As titled, here is the user working experience on how to disable Mercedes Sprinter VS30 Lane Keep Assist with DTS Mocaco engineer software.
Use this guide at your own risk.
Tools used:
- Xentry multiplexer VXDIAG VCX SE, Benz VCI DoIP, Actia Ecom etc
- DTS 9 (need to find keygen to activate software)

DTS Monaco Enable Benz Fader and Balance Menu
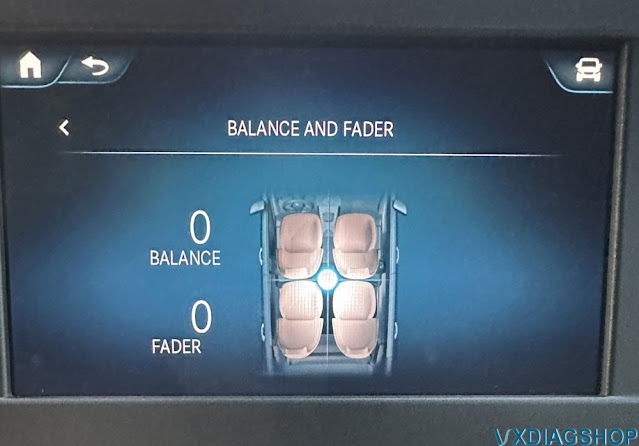
As titled, here is the user working experience on how to enable Fader and Balance menu with DTS Mocaco engineer software.
Use this guide at your own risk. Below are the steps he used to enable the Fader and Balance menu on the 2020 Mercedes Benz Cargo w/ 7″ MBUX**
Tools used:
- Xentry multiplexer VXDIAG VCX SE, Benz VCI DoIP, Actia Ecom etc
- DTS 9 (need to find keygen to activate software)
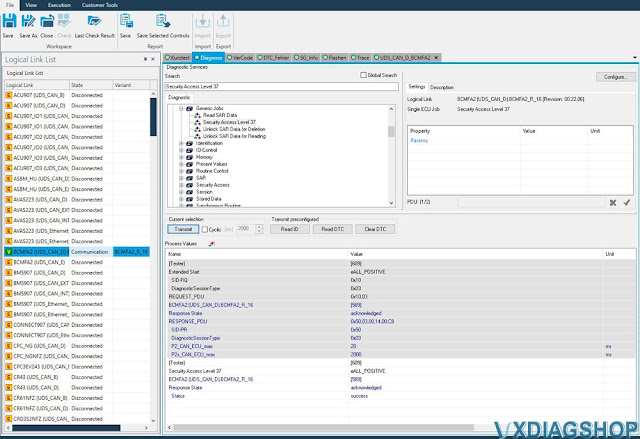
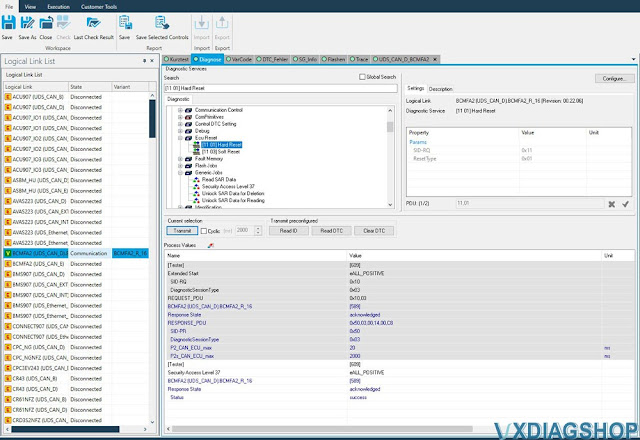
First you need to bypass the Security Access firewall
- Open DTS BR907 Project
- Do NOT perform an ECU update
- Connect to the BCMFA2 ECU
- Right click
- Select 'New Tab for Logical Link'
- Right click

4. Diagnose tab
- Select BCMFA2
5. Session: [10 03] Extended Start
- Transmit
6. Generic Jobs: Security Access Level 37
- Transmit
8. ECU: HU6
- Press the 'Connect' button
9. Domain: [041] Audio Handling Write
10. 'Balance Fader Menue' row
11.
Double click Current Meaning 'off'
- Select 'On'
12. Do Coding

- Select BCMFA2
14. [11 01] Hard Reset
- Transmit
How to Solve VXDIAG ODIS Cannot Change Language?
Problem:
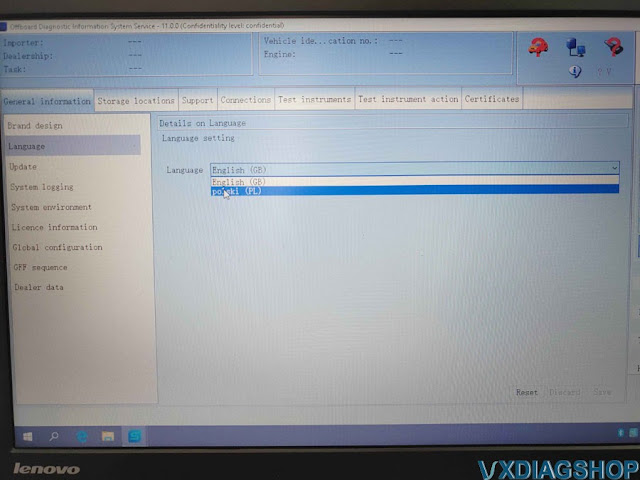
I got the vxdiag vcx se full with 2TB hdd, today I loaded VAG ODIS software and selected Polish language pack. But software still displays in English. Any solution?
Solution:
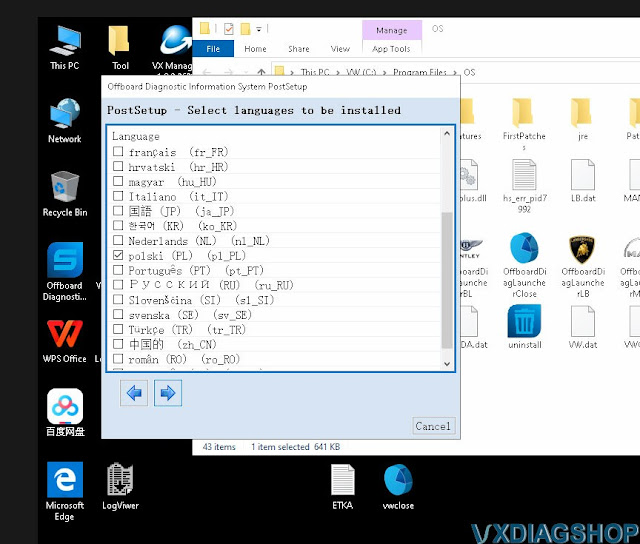
If you select Polish pack, there are 2 language in system, English+ Polish.
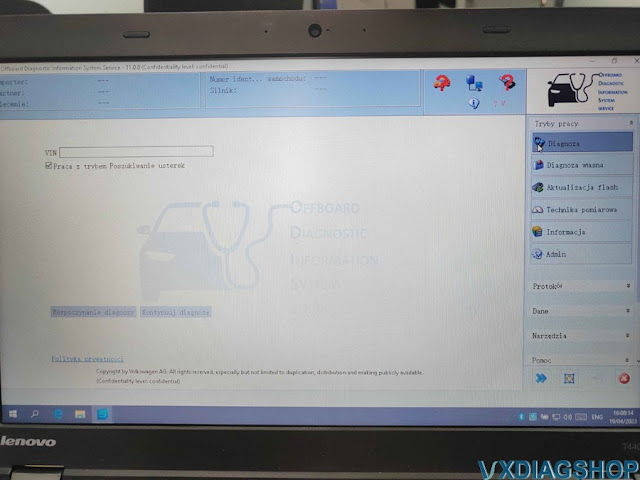
Go to Admin to switch language from English to Polish.
Same as other languages.

NOTE:
First ODIS (2TB HDD or VCX
SE 6154 HDD) installation requires updating data first. This process may
take about 1 hour.
During the process, need to choose the correct language
youneed.
The first installation will ask to select language pack. DO select the language you desired. You cannot change language later if don't select language pack at the beginning.
How to Install VXDIAG JLR SDD V164 Software?
Here is the instruction on how to install Jaguar Land rover JLR SDD V164 software on Windows 7 64bit.
V164 tested working with vxdiag vcx nano jlr, vcx se jlr doip and other VCX Plus scanners.
Better tested it on Win7 64bit system. Other systems test by your side.
Software can be downloaded in the previous post:
Free Download VXDIAG JLR SDD V164 and Patch
How to Install JLR SDD V164 for VXDIAG?
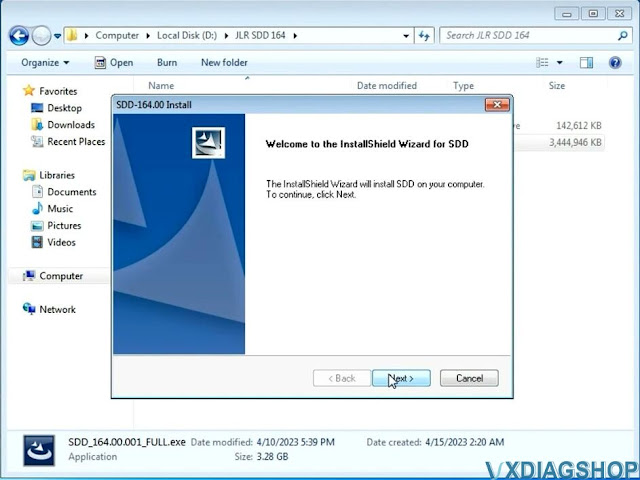
Step 1: Install SDD setup
Install SDD_164 full.exe setup

Select setup language
Install setup
Accept license agreement
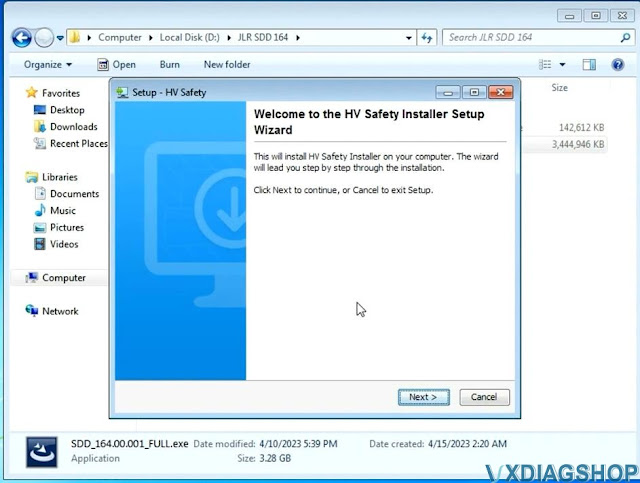
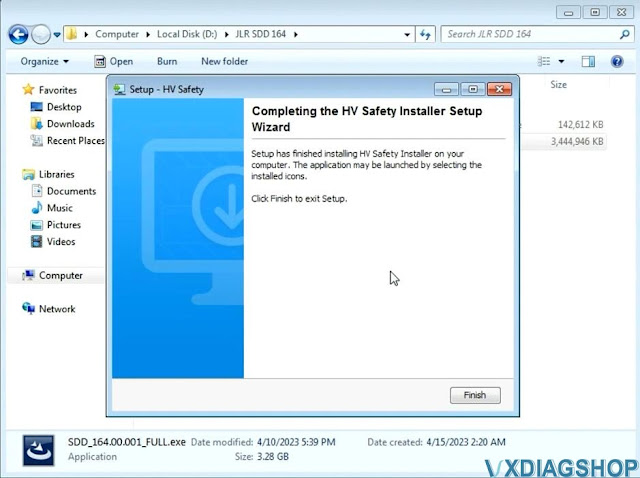
Install HV Safety Installer Setup
Install MOXA Windows driver setup

Finish installing SDD 164 setup

Restart computer
Step 2: Run Patch
Extract path zip file
Run JLR.SDD.Offline.exe patch
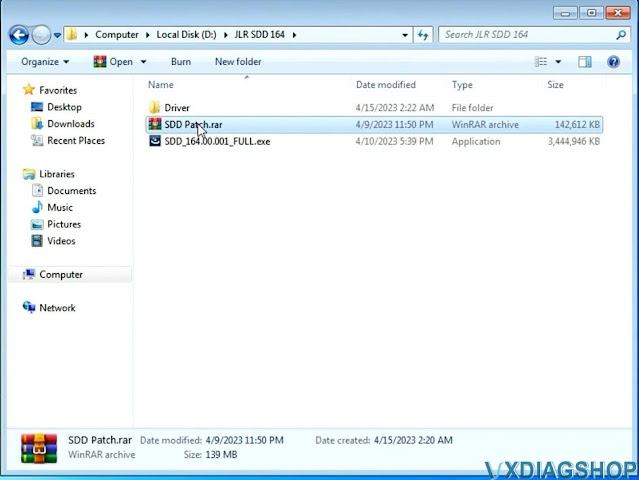
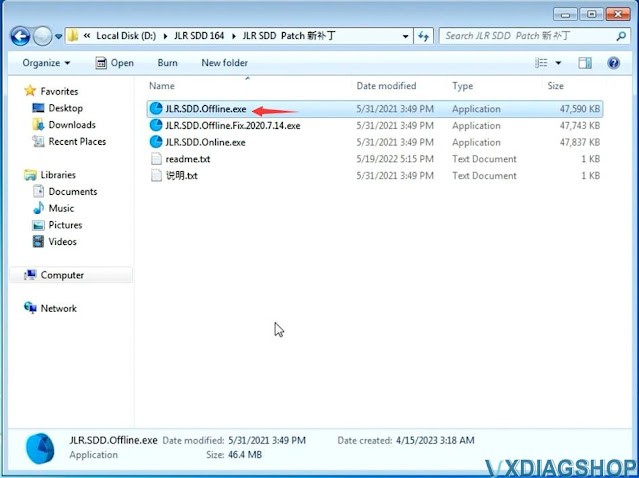
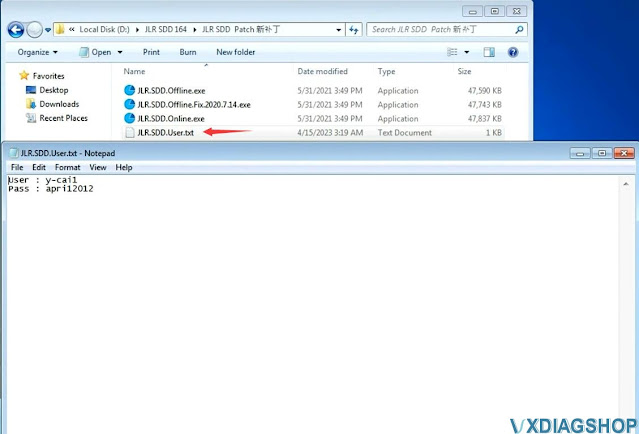
Run JLR SDD on desktop, login with user name and password
User name: y-cai1
Password: april2012


Exit SDD software
Then run JLR.SDD.Offline.Fix.2020.7.14 patch
NOTE:
Offline default works offline, you run offline patch.
If with DoIP JLR device and need to use it online, run online patch.
Step 3: Install VX Manager
Install vx manager
Install
passthru and JLR SDD driver
Run JLR SDD from patch