How to Fix VXDIAG Device Not Supported by GM Error?
Problem:
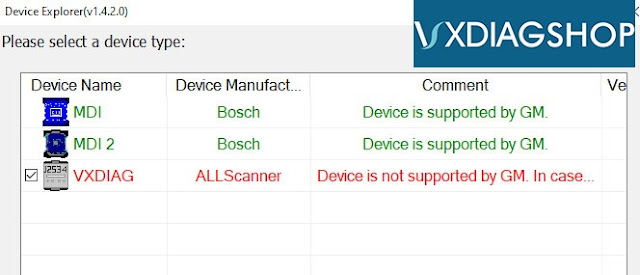
I have downloaded and installed the GDS2/Tech2Win software, vx manager driver from you website. When i connect the vxdiag vcx nano gm interface with laptop, run GDS and select hardware as VXDIAG Allscanner , it failed to connect and gave error “Device is not supported by GM”. Any idea how to solve it?
Solution:
1.For newer GDS2 software version, choose MDI Bosch (1st option) to connect.
2. For older version GDS2 software, choose MDI 2 Bosch to connect.
VXDIAG 2TH HDD common error solutions
As titled, here vxdiagshop.com provides some solutions to vxdiag vcx plus HDD/ SSD common errors.
1).
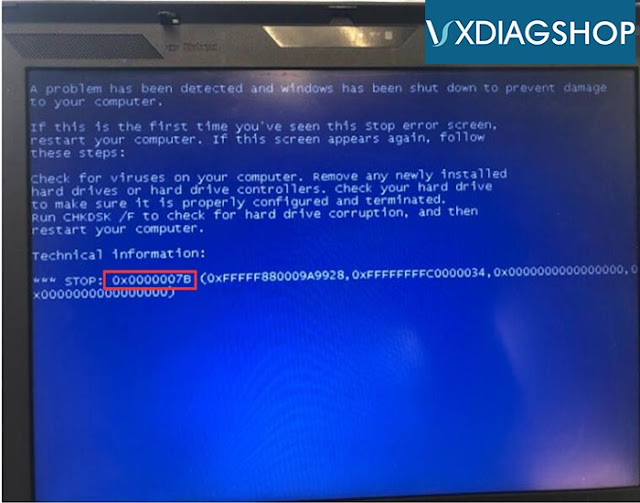
Error 0x0000007B with Blue screen when insert HDD to laptop
Solution:
Turn on laptop, press F2 to enter BIOS, set the HDD format to AHCI.
Then press F10 to save setting.
Restart computer.
2).
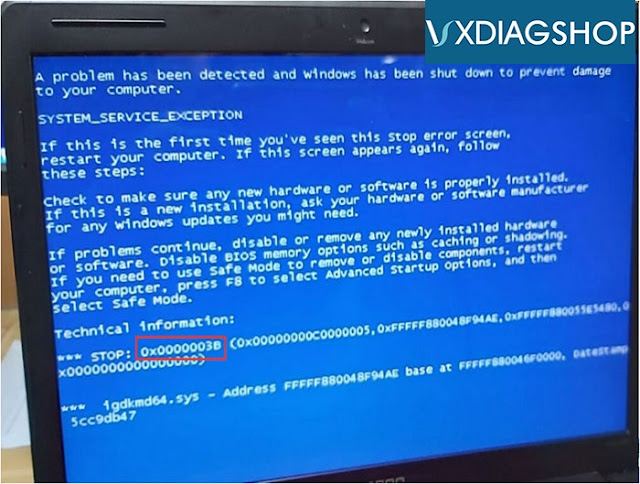
Error 0x0000003B with blue screen
Solution:
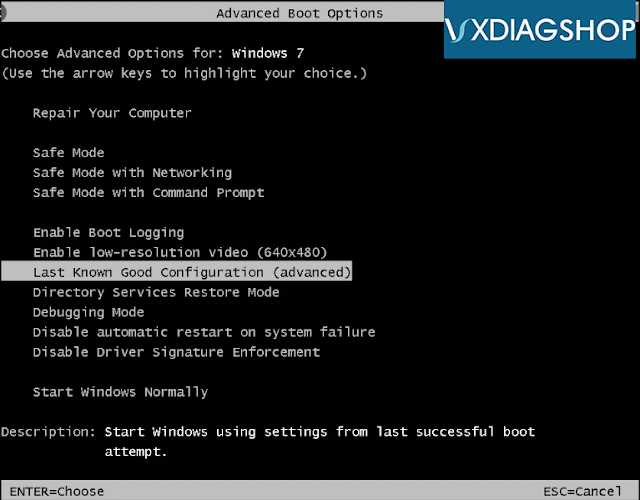
1. Restart computer, long press F8 and select “Last known good configuration (advanced)”
2. If you have installed vxdiag software or driver before blue screen, enter Safe Mode, delete software or driver you have installed. Then restart computer.
3. If blue screen still exists or fail to enter Safe Mode, need to reinstall computer operating system.
4. If blue screen still exists after reinstall operating system, it can be caused by hardware issue.
Clean the dust on the computer, remove memory, graphics card, PCI slot from computer, and try it with a rubber probe.
High temperature or poor contact will cause blue screen problem as well.
Remove CPU, fans, graphics card and replace with new thermal silica gel.
Check whether the temperature of all hardwares are normal.
Because of the high temperature caused by dust and poor contact, it can also cause a blue screen; at the same time, remove the fans such as CPU and graphics card and replace with new thermal silica gel; in addition, check whether the temperature of all hardware is normal.
3).
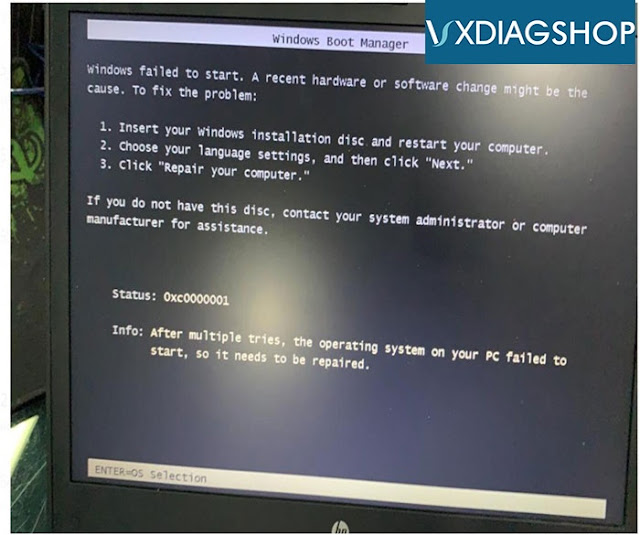
Windows failed to start.
Status: 0xc0000001
Follow video guide to perform system boot repair via U disk
How to install VXDIAG Ford Mazda IDS V118.01?
How-to: install Ford/Mazda IDS V118.01 software for vxdiag vcx nano scanner.
Version:
Ford IDS V118.01
Mazda IDS V118.01
Operating system: Window 7, Windows 8, Windows 10 32& 64bit
Compatible device: vxdiag vcx nano for Ford/Mazda USB and WiFi, vxdiag vcx pro, vxdiag full , vcm2 clone (using vxdiag solution) etc
Main Steps:
1.Install Ford IDS setup
2.Install VCI Software
3. Install VCI Manager(Ford)
4. Run software from Patch
Step 1: Install Setup
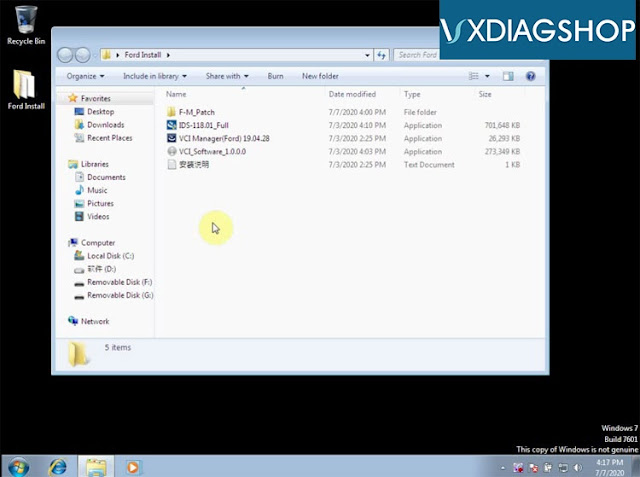
Open IDS-118.01_Full setup
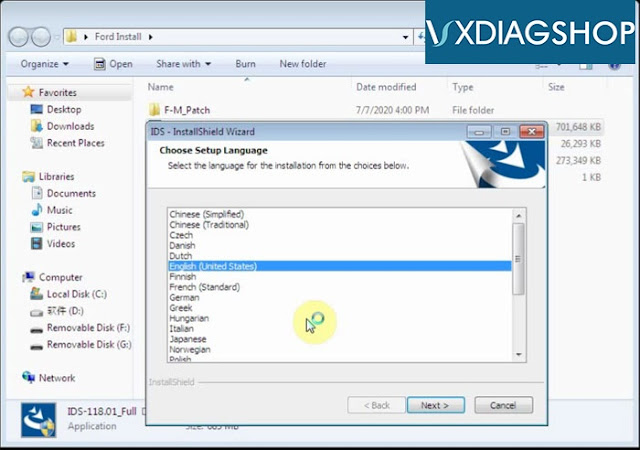
Select software language, press Next
Install InstallShield Wizard for IDS, press Next
Accept license agreement
Select destination folder
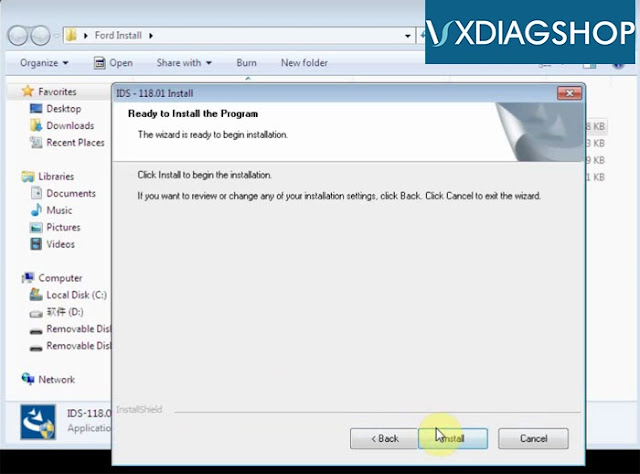
Press Install
Configuring
Updating database
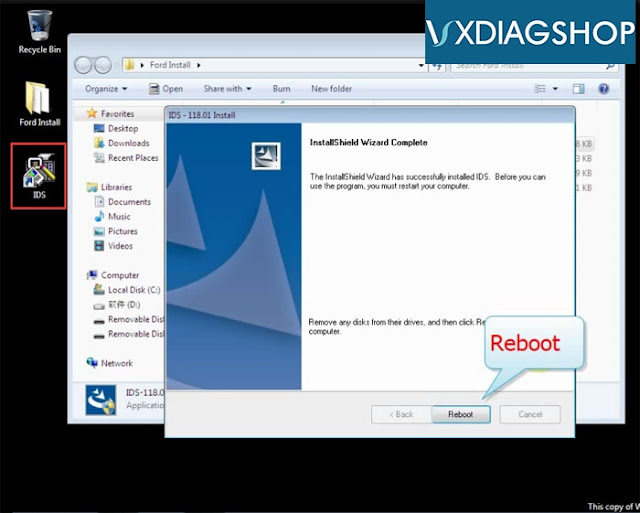
Restart the computer
Step 2: Run VCI software
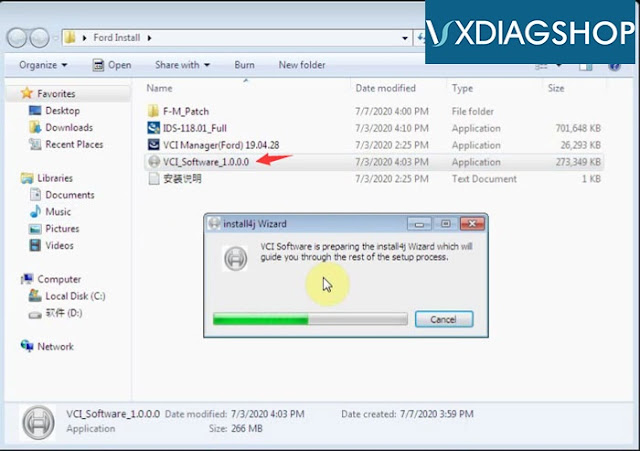
Run VCI_Software_1.0.0.0
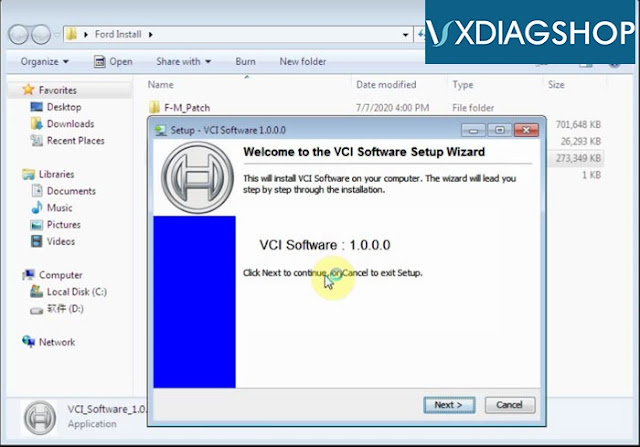
Install VCI software setup wizard, press Next
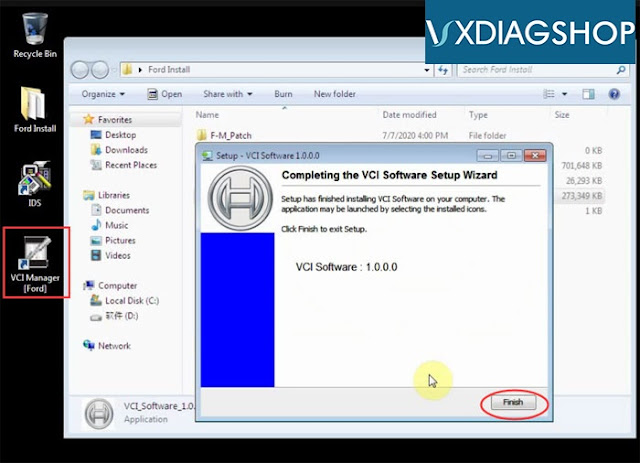
Finish installing VCI software
Step 3: Install VCI Manager
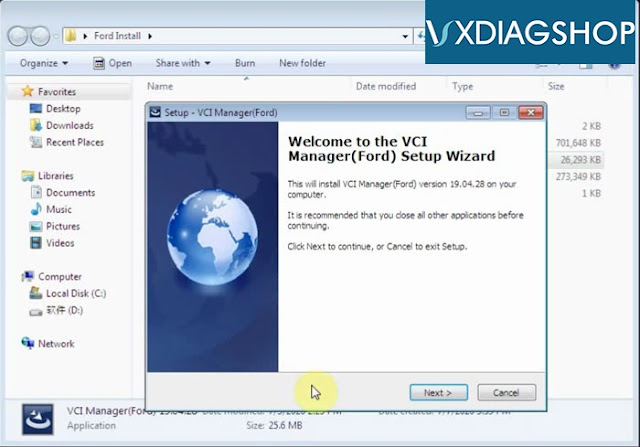
Run VCI Manager (Ford) 19.04.28
Press Next
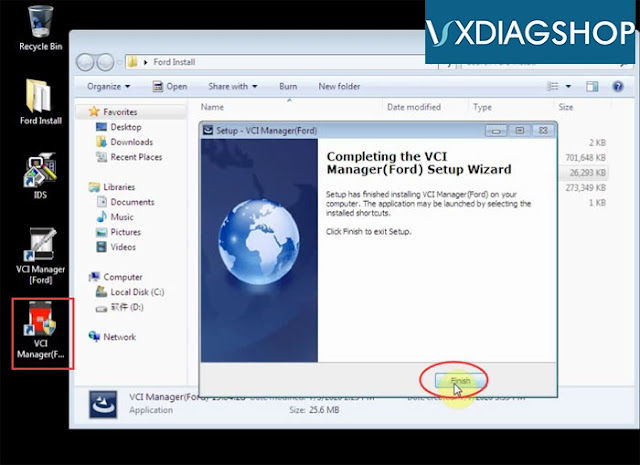
Finish installing VCI Manager
Step 4: Install IDS Patch
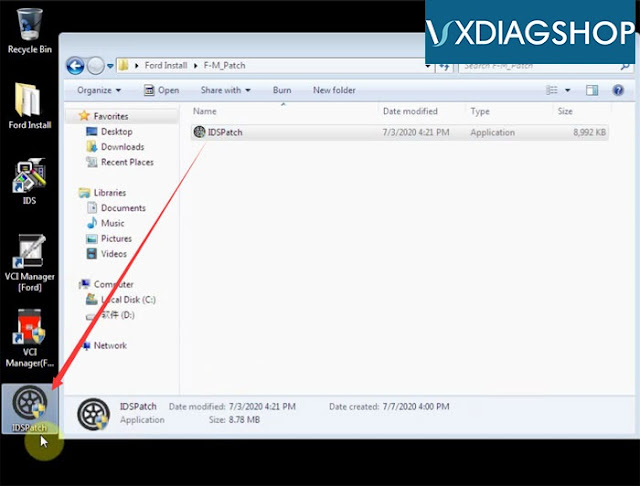
Open F-M_Patch folder
Open F-M_Patch folder
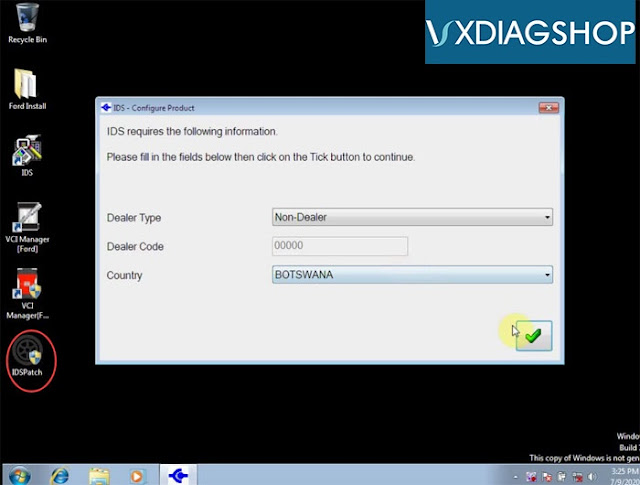
Copy and paste IDSPatch to desktop
Select Dealer type: Non-dealer and country
Press Tick button
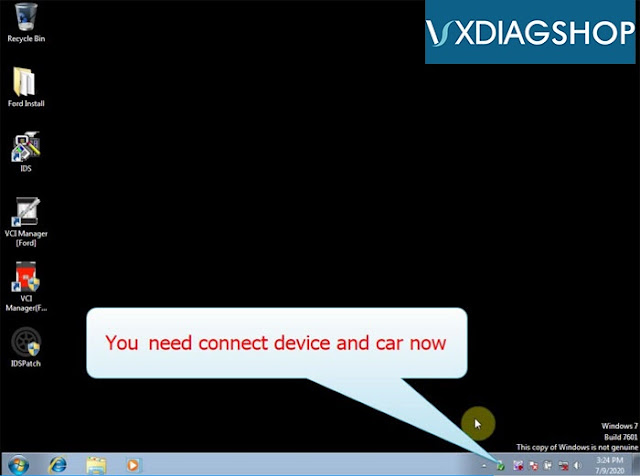
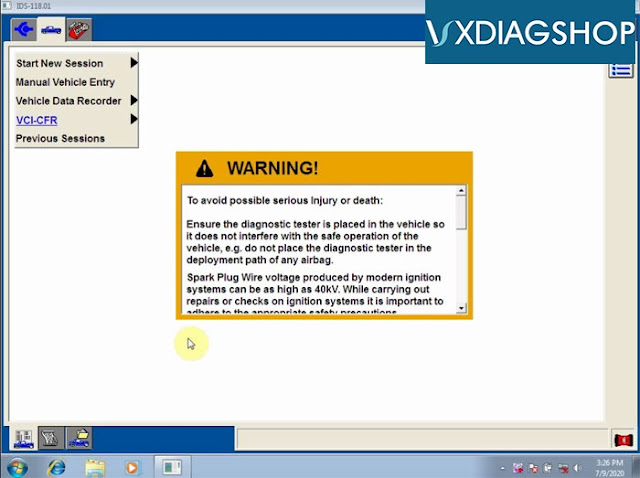
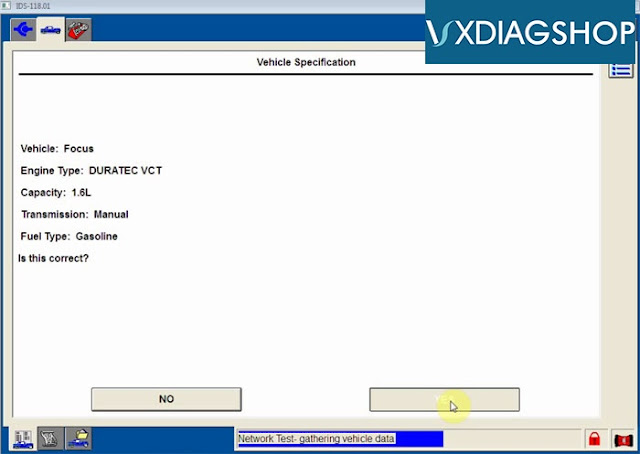
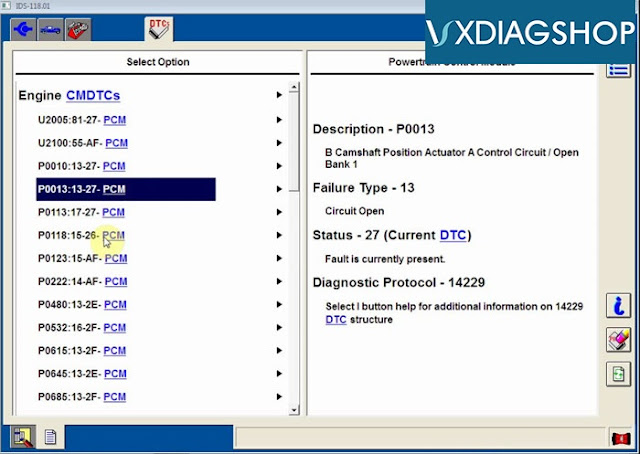
Ford IDS V118.01 software is ready to use.
VXDIAG Benz C6 CAL Error 870 Solution
Problem:
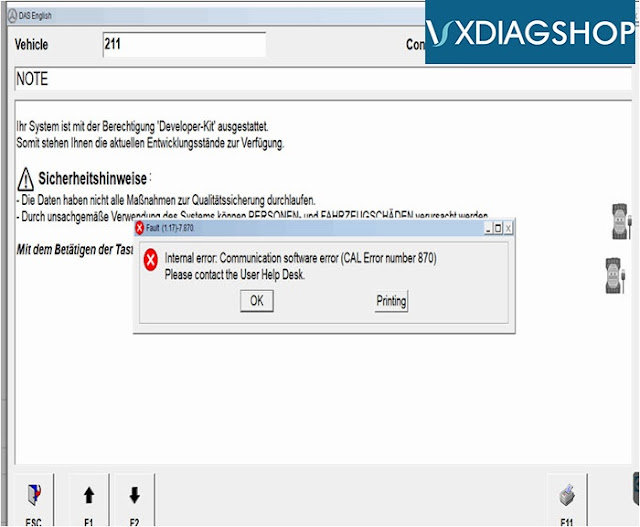
Has internal error when test Mercedes W211 with VXDIAG Benz C6 xentry software.
“Internal error: Communication software error (CAL Error number 870)
Please contact the User Help Desk”
Please contact the User Help Desk”
Solution:
Replace the cal.sli file under DAS bin folder
How to Change VXDIAG BMW ISTA+ ista-p Language?
Here’s the guide to change ISTA+ (ISTA-D) and ISTA-P software language of VXDIAG BMW scanners (vxdiag vcx BMW, vxdiag vcx se for BMW, vxdiag full etc)
How to Change VXDIAG BMW ISTA+ software language?
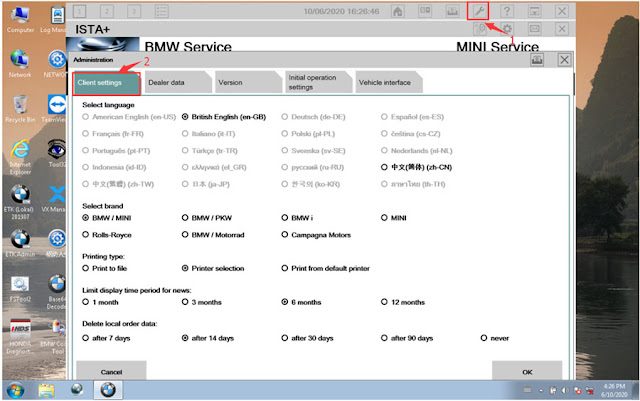
Open ISTA+, click on Setting icon-> Client settings and select language you desired. Press OK to save language setting.
How to Change VXDIAG BMW ISTA-P software language?
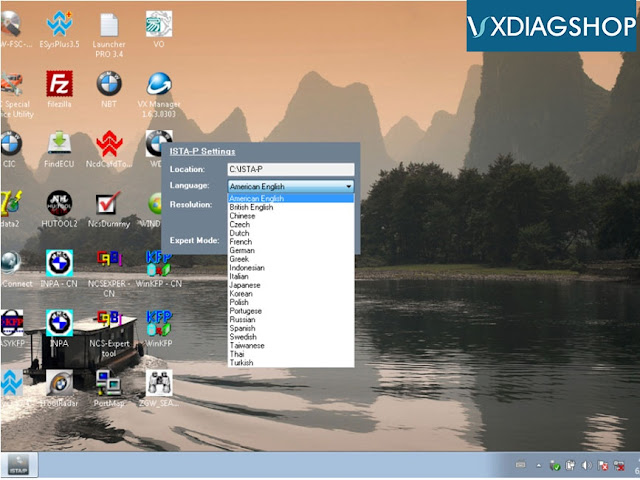
VXDIAG BMW ISTA-P supports following language:
English, Chinese, Czech, Dutch, French, German, Indonesian, Italian, Japanese, Korean, Polish, Portuguese, Russian, Spanish, Swedish, Thai, Turkish
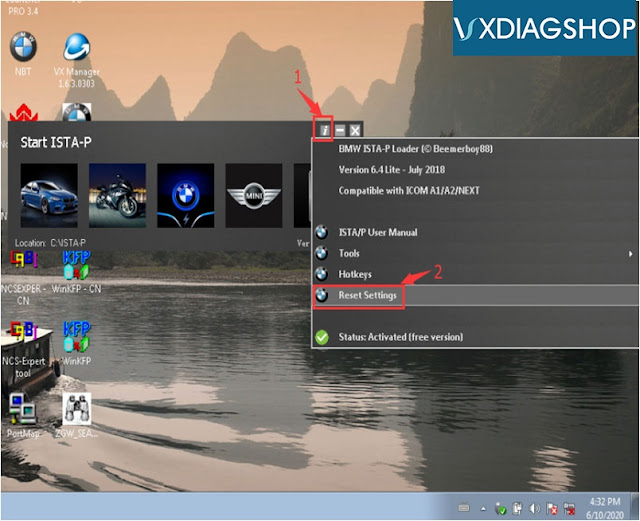
Start ISTA-P, press i icon
Select Reset Settings
Restart ISTA-P software
Select Automatic Search
Select language you desired
*Note: Do tick the Expert Mode, otherwise Expert Mode will fail to work.
https://www.vxdiagshop.com/service/change-vxdiag-bmw-ista-language.html
