Forscan disable 2021 F150 Auto Start Stop Function
2021 Ford F-150 Auto Start Stop can now be disabled via FORScan. You will need a Forscan compatible J2534 interface, i.e thevxdiag vcx nano fordinterface.
The following has been reported to disable Auto Start/Stop:
PSCM
730-03-01 xxxx xxxx 00–
If you keep the Stop Start status monitor open in the IPC (found in the Trip Fuel menu) you can monitor that every time auto stop start should kick in it will not due to a ‘steering maneuver in progress’, which is an auto stop start interrupt generated by setting this.
The person that first tested this newer mod (Airborne_Ape) said “In the tests this generates no errors, no DTC’s, no prompts, no chimes and keeps the battery monitor system active. The Auto Start Stop algorithm is just always interrupted by the PCSM and will never work.”
Can confirm: This is the only notification that I get, and it is only visible if you are already looking at this screen.
No errors, no warnings, no side effects (so far).
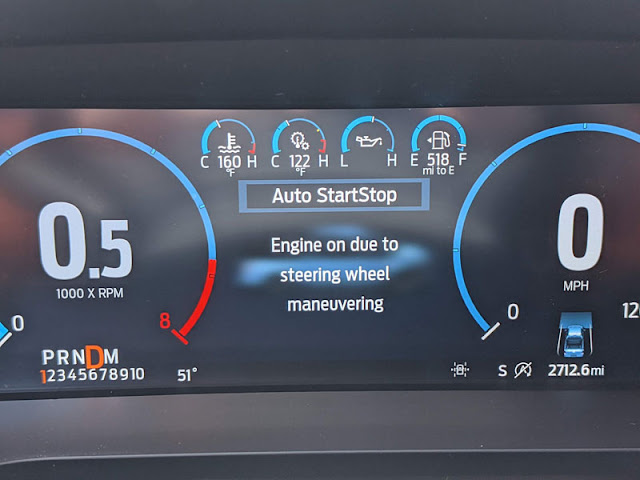
By changing that “1” to a “0” you’re basically just tricking the Power Steering Control Module into thinking that the steering wheel is currently in motion, and therefore A.S.S. is not activated.
Since this is a normal action that it looks for each time you stop it wouldn’t generate any kind of error, therefore, no error or warning messages.
Mission accomplished.
https://www.vxdiagshop.com/wholesale/vxdiag-vcx-nano-for-ford-mazda-2-in-1.html
Does VXDIAG VCX NANO GM support Windows 11?
Possible to set up vxdiag vcx nano gm gds2 and tech2win software on Windows 11 operating system?
Here is the test report from one of vxdiagshop.com's customers.
‘Just finished installing the VX Manager software on my new Win 11 laptop. The installation went normally and everything works as it should.
Thought you guys would want to know the software works with Win 11 Pro 64 bit.
I am pleased to report that the GDS2 software as supplied by VXDiag installs and runs ok on my laptop using Windows 11 Pro 64 bit. So far I have used the laptop and GM VCX Nano successfully with Tech2Win on my '09 Corvette Z06, and with GDS2 on my '14 Silverado LTZ.
Two observations:
The defender anti-virus supplied with Win 11 and some third party anti-virus programs do not like the VXDiag software suite. They will block the download, installation, and running of the software.Care must be taken to adjust the settings in the anti-virus software to prevent this.
The VXDiag supplied Tech2Win and GDS2 software does not have 100% functionality as the real GM software. They cannot communicate with all the car's modules at one time but can communicate with each module individually. This is the same as under Windows 10.
Thanks for the interest and support.'
VXDIAG Ford FDRS Program Mustang 2021 Proximity
Here is a quick guide on how to program a new key to a Ford Mustang Mach E year 2021 using vxdiag J2534 interface and FDRS software program.
Tools required:
VXDIAG VCX NANO Ford J2534passthru
Ford FDRS online subscription
2 keys to be programmed
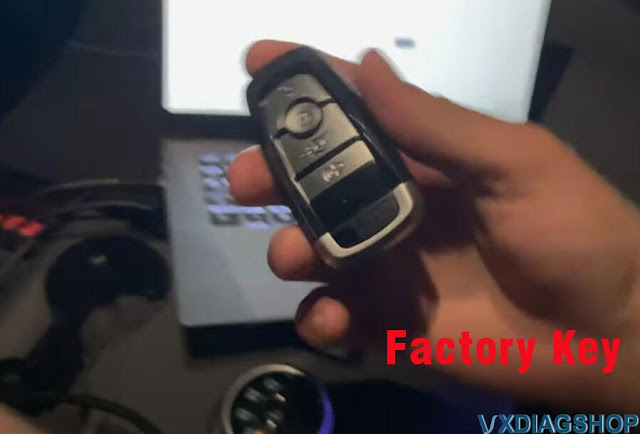
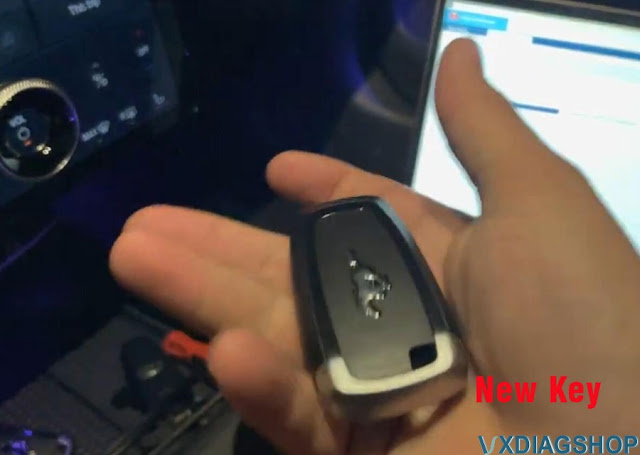
Here we have a new key and the factory proximity smart key
You need ford vcm2 or other compatible tools for FDRS.
There is a list of
them on Ford’s website.
You might need a dealer login that case obviously a
dealer can do it or a dealer tech.
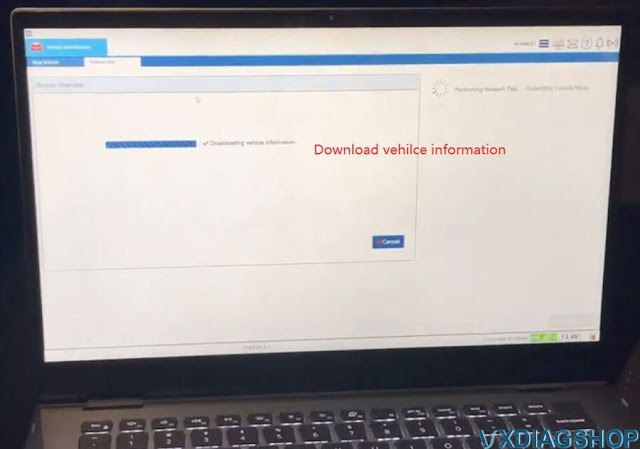
I am logged in as a dealer here. Check:How
to set up FDRS with VXDIAG VCX NANO for Ford?
All I’ve done is plugged it
in and I hit Read vehicle, it’s been reading for around 10 seconds.
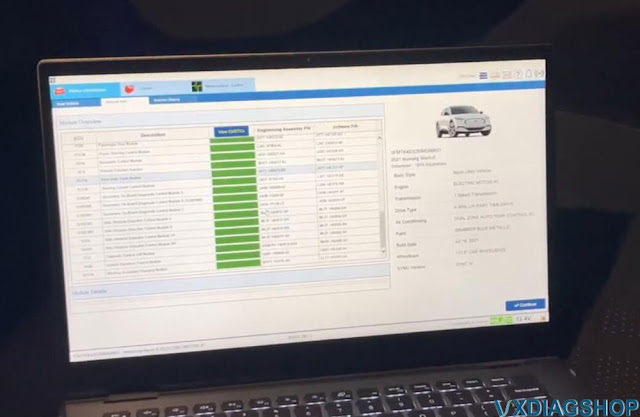
it’s pulling every single module in the car and this car is i believe it
has 37 modules.
It looks at code and checks software versions in every module.
the car doesn’t have to be on for this but if it’s not it won’t actually read all the modules.
We just read some of them. I think it’s about half maybe a little more read with the car off and the rest need to require the car to be on.
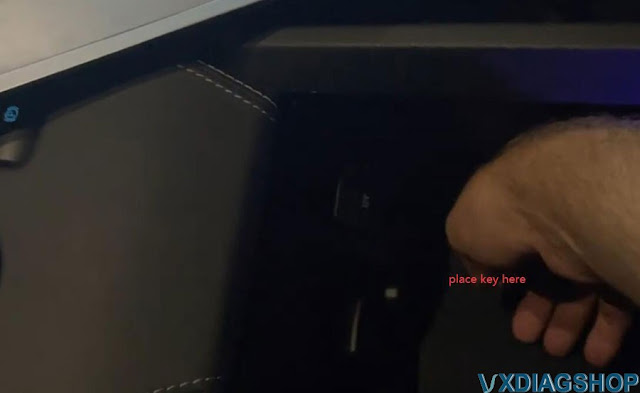
What we’re going to do is i’m going to go ahead and put this key in the backup slot right here.
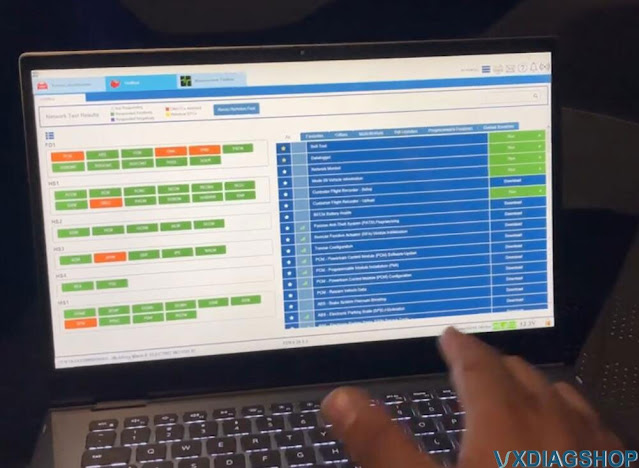
We’re in it’s basically showing if we have any codes and it’s showing all the part numbers here.
So anything in orange we have what they call DTC’s which are just a stored code.
It shows some information on the side here which is also an oasis.
 >
>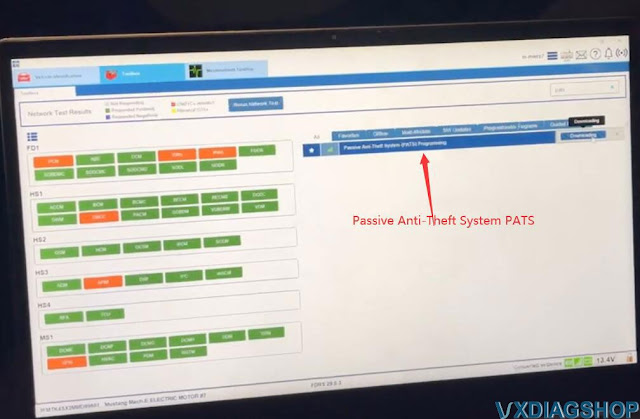
Go ahead and continue it shows your battery voltage right here. By the way at the bottom right which is helpful again, it shows codes here shows all the tests you
can do here so what we’re going to go ahead and do is just type in the search bar in the top right when type PATS passive anti-theft system
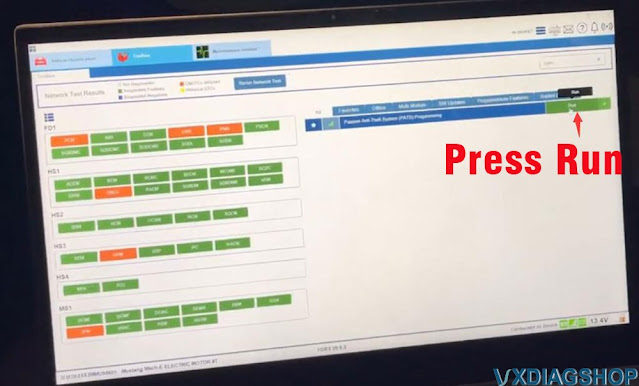
we’re gonna hit download. FDRSdownloads all modules individually.
It doesn’t take very long usually though if you have a good WiFi connection.
It’s gonna connect to the car real quick.
Check how many keys are programmed and then you just do what we want to do or
whether it asks what we want to do count, erase, program, lost or initialization if you replace it
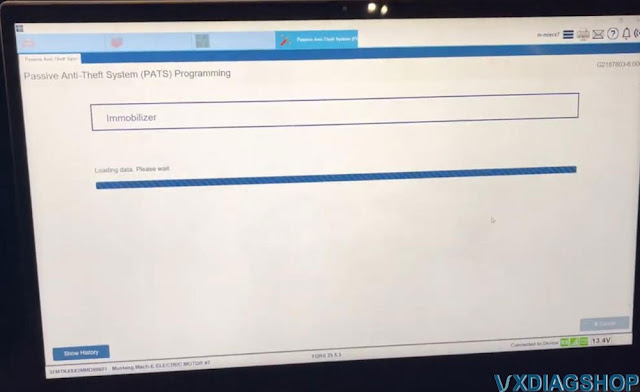
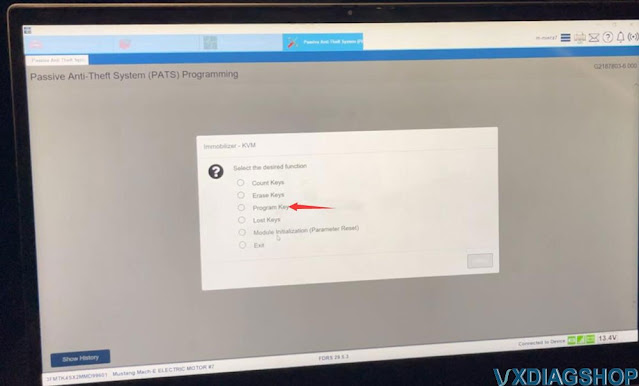
We count keys, it tells us there are actually two keys.
Here we selectProgram Key
Put it in the backup slot we already did
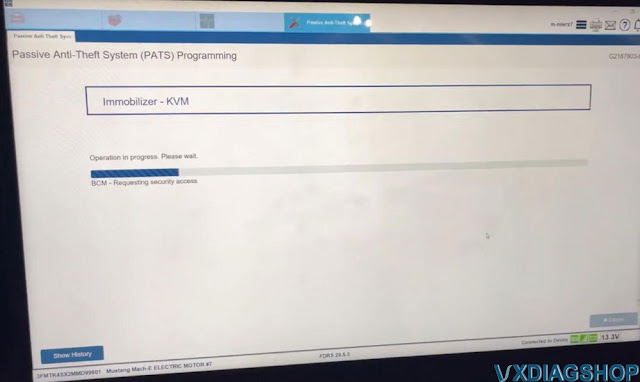

It’s in the bcm lights flash that means it’s programmed
Now it says three keys and takes this new key out
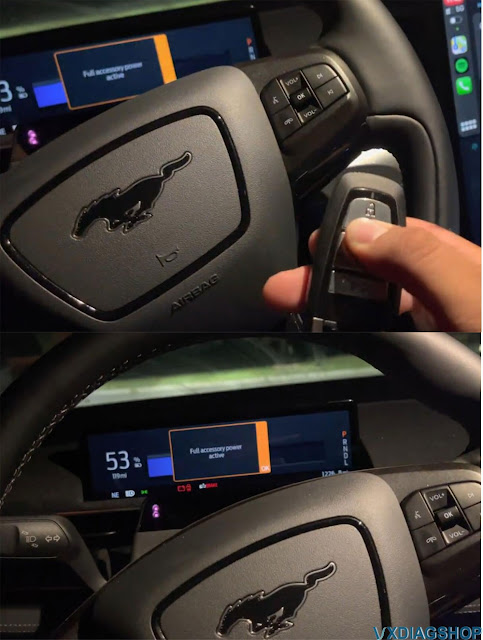
It’s working you can hear the door locks and here’s the first key.
See they both work now so perfect that’s how quick it is for a dealer to program a key.
Super fast and enjoy.
http://blog.vxdiagshop.com/2022/03/22/program-mustang-2021-proximity-with-vxdiag-j2534-and-fdrs/
VXDIAG Benz C6 No Device Connect Error Ping Failed Solution
Problem:
I got thevxdiag benz c6 doipmultiplexer and 12/2021 version xentry hard drive but it won’t connect to WiFi. VX Manager cannot detect the device. It says No Device.
I have installed the new C6 driver, nothing changed. ‘Connect device error: ping failed 192.168.8.1’
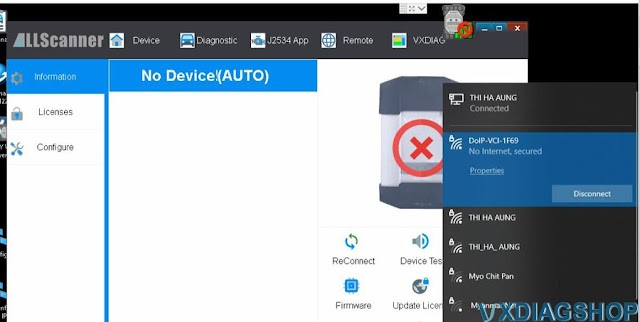

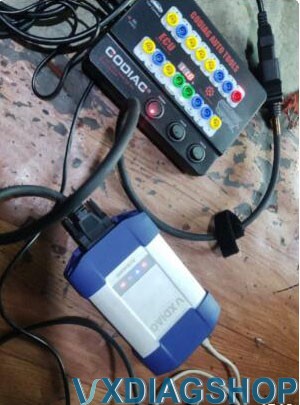
Vxdiagshop.com Solution:
You may need a C6 DoIP firmware reset.
File required:
Then follow the steps here to reset the DoIP VCI.
https://www.vxdiagshop.com/service/vxdiag-benz-c6-doip-vcx-firmware-reset-8042.html
VXDIAG VCX NANO GM techline: Connect VMware setup
Vxdiagshop has revealed the secret to setting upvxdiag vcx nano gmwith Techline Connect GM SPS2 new online programming system. Here we share a virtual machine solution on this.
Related reading:Set up vxdiag vcx nano gm with Techline Connect (native machine)
NOTE:
Our method is much easier than the virtual machine solution. The approach here is not plug-and-play. Just provide another solution.
Share for educational purposes. You are at your risk.
Credit to bit1817 from GM-Volt. The originalvideohere can be used as a visual aid.
During this process, you will:
- Create a virtual machine
- Using a virtual machine will decrease the chance of errors and protect your computer from potential viruses. It also makes it easier to start from scratch with a fresh installation of Windows (if you end up needing to). However, it can be done without using a virtual machine (check our document above).
- Install and set up VX Manager
- Install and set up Techline Connect
- Use SPS2 to reprogram your vehicle using the VCX Nano
What you need before starting:
- A laptop
- An internet connection
- An active “Service Programming System (SPS2)” subscription from ACDelco TDS
- $40 per vin (24 months access)
- VXDIAG VCX Nano GM GDS2 J2534 ($120)
- OBD2 scanner
Important information and tips:
- Read the guide and watch the video to decide if this is feasible for you. You don’t need to be an expert with computers to successfully do everything but it’s definitely not “plug and play.”
- Try to follow the instructions as closely as possible.
- Do not try to follow the video without reading the step-by-step instructions. The video is just meant to be used as a visual aid.
- This might take multiple attempts. If you encounter an error, it might be easier to just restart from scratch instead of trying to troubleshoot it.
- Don’t plug the VCX Nano into your laptop or vehicle until the step says to.
- The video was created on October 29, 2021. Things may change by the time you use this guide, but it should be similar. The user will try to keep the guide updated and fix errors.
- This guide specifically addresses the “Service High Voltage Charging System” error with 1st generation Chevy Volts. However, the process should be similar with other vehicles.
The “Service High Voltage Charging System” message is a common problem on first-generation Volts. Often, the only way to fix the error is to reprogram the BECM and HPCM2 modules (even if nothing is inherently wrong with the vehicle). Before you reprogram the modules, you should see if clearing the codes fixes the issue. Also, make sure the battery coolant is not low. If clearing the codes does not permanently fix the problem, you most likely need to reprogram the modules.
- Before reprogramming, make sure the battery coolant is not low and clear any codes with an OBD2 scanner.
- He recommends buying a Chevy Volt 2011-2015 SHVCS Defeat Plug ($40) to stop the SHVCS message from triggering again. If you choose to buy it, you can install it before programming your vehicle.
- He suggests using VMware to create your virtual machine. Others have reported problems when using other virtual machine software.
- If you don’t live in the United States, you might want to use a VPN and change your location when creating your account with ACDelco TDS. The “Service Programming System (SPS2)” subscription might have better pricing and a longer access time in the USA than where you live.
VXDIAG VCX NANO Techline Connect Setup Procedure:
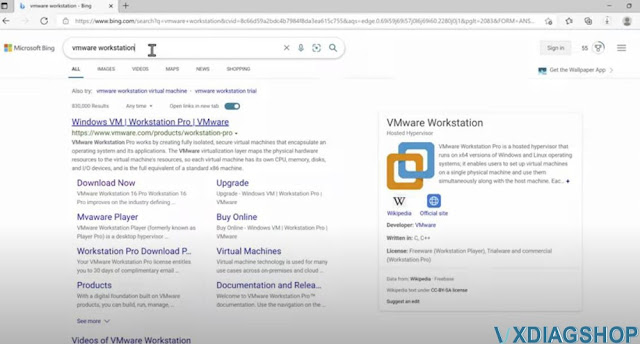
Step 1:Download Windows 10 Media Creation Tool and VMware Workstation (00:00)
- Search the web to find the download links or click the links below
- Edit: It might be better to use VMware Workstation 16 Player instead of VMware Workstation Pro. If you use the pro version, your access will end after your free 30-day evaluation. However, you can still use the pro version if you would like. The setup process is similar with both versions.
Step 2:Open Windows 10 Media Creation Tool and download Windows 10 ISO (00:30)
- Click on the Windows 10 Media Creation Tool file you downloaded to start the installation
- When the screen says “What do you want to do?”
- Select “Create installation media (USB flash drive, DVD, or ISO file) for another PC” and continue
- When the screen says “Choose which media to use”
- Select “ISO file” and continue
- *remember where you save this file*

Step 3:Set up VMware (01:57)
- Click on the VMware Workstation installation file you downloaded in step 1 to start the installation
Step 4:Set up a virtual machine using VMware (02:58)
- Start the VMware Workstation program
- Select “I want to try VMware Workstation 16 for 30 days” and continue
- Select “Create a New Virtual Machine” and continue
- For the “Installer disc image file,” click browse and then select the Windows 10 ISO you downloaded in step 2 and continue
- Uncheck the box that says “Power this virtual machine after creation” and continue
- Click “Edit virtual machine settings”
- Change the “Number of cores per processor” and “Memory.” This will make the virtual machine run smoother. The values you select depend on the specification of the laptop you’re using.
- I suggest setting the memory to half of what your laptop contains and setting the “number of cores per processor” equal to the number of cores your CPU has.
- My laptop has 16 GB of memory/RAM and a 6 core CPU. Therefore, I selected 8 GB of memory and 6 for the “number of cores per processor.”
Step 5:Power on the virtual machine and set up Windows (04:26)
- Select “Power on this virtual machine”
- As soon as the screen says “Press any key to boot from CD or DVD,” click the center of the screen and press any key. If you don’t do this fast enough, you’ll have to close the window and try again.
- When the screen says “Activate Windows”
- Select “I don’t have a product key” and continue
- When the screen says “Select the operating system you want to install”
- Select “Windows 10 Pro” and continue
- When the screen says “Which type of installation do you want?”
- Select “Custom: Install Windows only (advanced)” and continue
- When the screen says “How would you like to set up?”
- Select “Set up for personal use” and continue
- When the screen says “Let’s add your account”
- Select “Offline account” and continue
- When the screen says “Sign in to enjoy the full range of Microsoft apps and services”
- Select “Limited experience” and continue
- When the screen says “Choose privacy settings for your device”
- Turn off everything and continue
- When the screen says “Let Cortana help you get things done”
- Select “Not now” and continue
Step 6:Configure display settings (optional) (07:31)
- Go to system settings and find the display settings.
- Do this if you need to change the resolution or make text larger

Step 7:Log in to ACDelco TDS and download Techline Connect (08:18)
- You need to have an active “Service Programming System (SPS2)” subscription from ACDelco TDS before attempting this step
- Log in to ACDelco TDS
- Click on your vehicle programming subscription and then click “Add VIN.” It will open a new webpage.
- My subscription already shows the VIN of my car because I’ve done this before. You don’t enter the VIN until step 11 or 12.
- Click “Download Techline Connect”

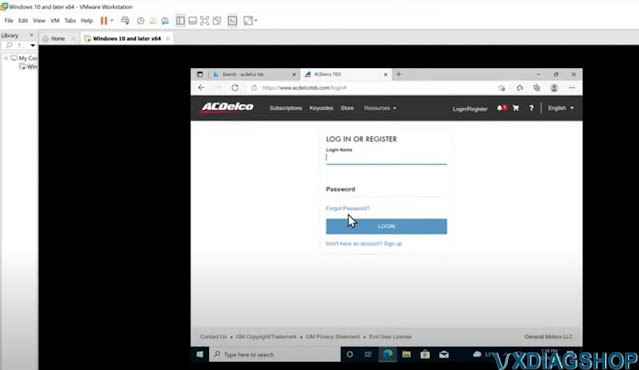
Step 8:Download and install VX Manager (09:43)
- Go to the VXDiag website and find the download page (or type in the link below)
- Edit: People are reporting problems with the latest version of VX Manager. However, the 1.8.4 version appears to still work. If you have this problem, the link below includes the download for the 1.8.4 version.
- Click the VX Manager Mega Link
- From the Mega webpage, click download
- The download might be flagged as dangerous or a virus. Bypass the warnings (see video) and open the file. Install the program.
- This is safe to do because you are using a virtual machine
- When the screen says “Select Components”
- Select “GM – GDS/Tech2Win” and continue
- Before clicking finish, plug your VCX Nano into your laptop
- When the screen says “New USB Device Detected”
- Select “Connect to a virtual machine,” click the virtual machine from the list, and continue
- Click finish
Step 9:Set up VX Manager (12:52)
- Click “Firmware,” toggle update, and click “Upgrade.” Close the pop-up window when it finishes.
- Click “Update License” and wait for it to finish.
- Click “Diagnostic” and then “PASSTHRU.” Click Install. When it finishes, close the window and close VX Manager.

Step 10:Install Techline Connect (14:28)
- Click on the TLCInstaller file you downloaded in step 7 and install the software
- Once you get to the login screen, close Techline Connect. It might take a few tries for the program to close.
- Go back to the TLC Admin Console web page from step 7 and click “Launch Techline Connect”
- Finish installing the software


Step 11:Prepare for vehicle programming (18:36)
- Clear the codes, if any, from your vehicle using an OBD2 scanner. I think you can do this with the software as well but I didn’t try.
- Unplug the charger from the car
- Your laptop should have a full charge before programming. However, I suggest leaving it connected to the charger, if possible.
- Put the vehicle into accessory mode
- 1st generation Chevy Volt: hold the power button for 10 seconds without pressing the brake
- Turn off the radio, interior lights, etc. You do not want the 12V battery to drain more than necessary.
- Plug the VCX Nano into the vehicle’s OBD2 port
- Click “Connect Vehicle”
- When the screen says “Please select a device type:”
- Select “VXDIAG” and continue
- Click SPS2
- At some point, you’ll get a pop-up that asks if you want to use the car’s VIN with your subscription slot. I think it comes up after you click “next” in Step 12 (around the 20:00 mark in the video). I already did this before I made the guide so the video doesn’t show it.
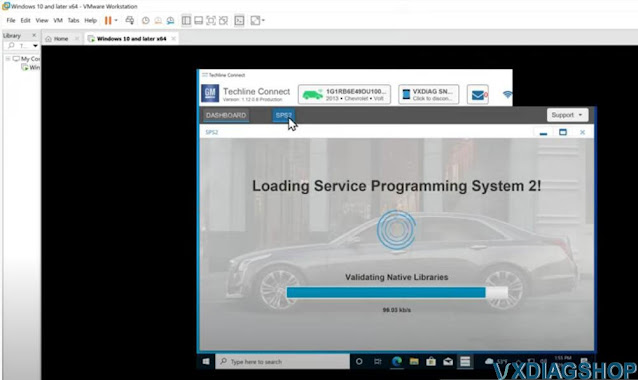
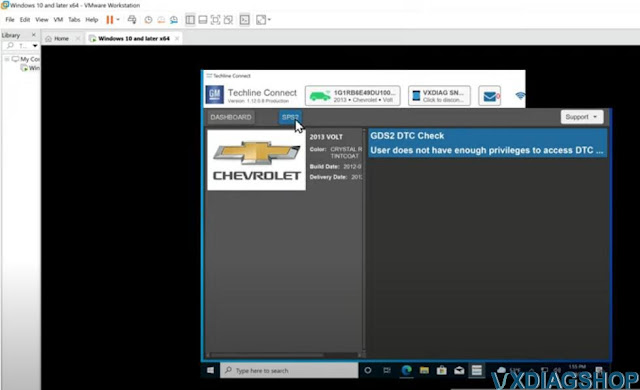
Step 12:Reprogram the Battery Energy Control Module (19:59)
- I did not fully complete this step in the video because I already reprogrammed my vehicle
- Click “Next”
- Select “Battery Energy Control Module” and click next
- Continue to click next until the software begins to reprogram the vehicle. Don’t do anything until it completely finishes. It might take a while. The vehicle’s instrument cluster will display warning lights during the process (this is normal).
- If your module is already up-to-date, you might get a warning about reinstalling the same calibration. It’s okay to do this. You still need to reprogram it even if it’s up-to-date.
- After it is finished, continue to step 13
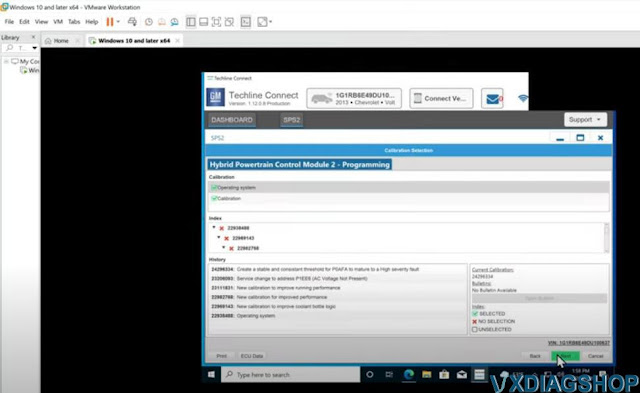
Step 13:Reprogram the Hybrid Powertrain Control Module 2 (21:27)
- I did not fully complete this step in the video because I already reprogrammed my vehicle
- Repeat step 12 but select “Hybrid Powertrain Control Module 2” instead
- After the “Hybrid Powertrain Control Module 2” is finished reprogramming, close the program
- Turn off the car and turn it back on normally. You are finished.

Enjoy.