VXDIAG Benz "Checksum Firmware Failed" Error Solution
Problem:
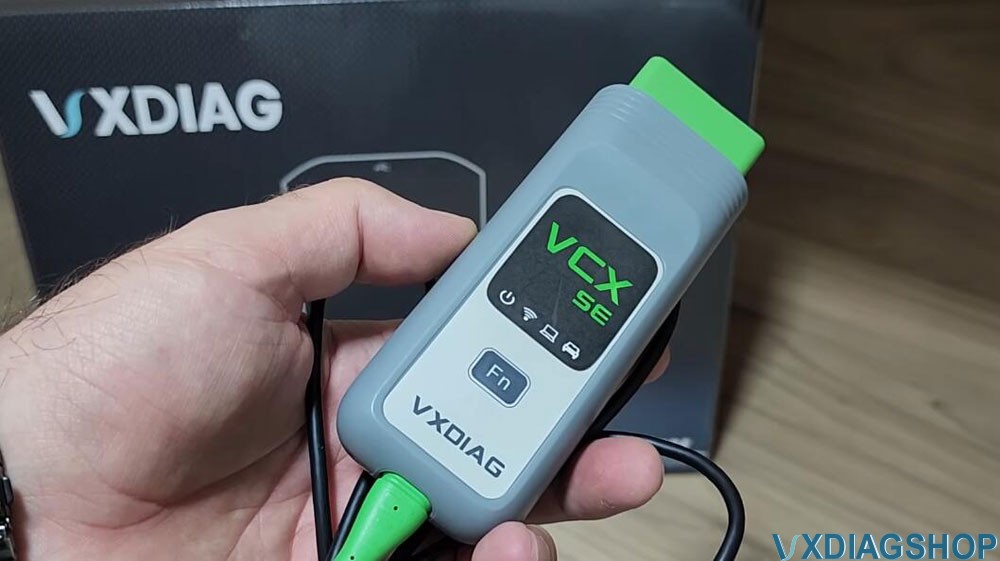
Failed to update DoIP firmware for VXDIAG VCX SE Benz DoIP device. Error “Checksum firmware failed”.

Solution:
1.Connect to the PC power source, change network. Update firmware again.
2.Update Benz C6 driver in vx manager first.

Then update VCI and DoIP firmware.

2025.03 VXDIAG Benz XENTRY No Valid StartKey Solution
Problem:
Failed to start 2025.03 VXDIAG VCX SE Benz Xentry software that came with the hard drive.
Error “Xentry Diagnosis could not be started. There is no valid StartKey available.”
Any solution?

Solution:
Disable secure boot in bios. It should be fine.
Find the Secure Boot setting in your BIOS menu. If possible, set it to Disabled.

Difference Between VXDIAG VCX PLUS and VCX SE Benz
What is the Difference between VXDIAG VCX PLUS and VCX SE 2025.03 for Mercedes Benz?

Key Differences Between VXDIAG VCX PLUS and VCX SE Benz:
1. DOIP Support (Diagnostics Over Internet Protocol)
To connect to new models via a certificate, you need a scanner with
DoIP.
VCX PLUS and VCX SE support DoIP protocol. They will read cars from
2004 to today.
In order for these scanners to be able to diagnose new models, you need to add a diagnostic certificate (Zenzefi) to Xentry.
-
VCX PLUS: Supports DOIP v1 and v2, support high-bandwidth Ethernet connections and are capable of handling complex diagnostic tasks, especially for high-end vehicles, including ECU programming and software updates.
-
VCX SE: only supports DOIP v1, it can handle most diagnostic tasks. It’s a cost-effective option for daily vehicle maintenance and basic diagnostics while still being capable of certain advanced tasks.

VXDIAG DoIP Option 1 vs Option 2:

Option 1 generally refers to a standard DoIP implementation based on Ethernet and IP protocols. This means the DoIP protocol runs over conventional Ethernet architecture, suitable for basic diagnostic tasks with relatively low bandwidth requirements. This implementation is widely used in earlier vehicle models or basic diagnostic systems, primarily for functions like reading and clearing fault codes, real-time data streams, sensor data, and other essential tasks.
2. Option 2: High-Bandwidth DoIP Implementation
Option 2 refers to a high-bandwidth DoIP implementation, usually utilizing 10Gb Ethernet or higher bandwidth networks, and supporting more complex protocols and architectures. This implementation can handle higher data transfer rates, suitable for more complex diagnostic tasks like ECU programming, software updates, and intricate fault diagnostics.
Both options are part of the DoIP standard and are used depending on the specific requirements of the diagnostic task and the available infrastructure.
2.Voltage Range
-
VCX PLUS: Operates between 7V–32V.
-
VCX SE: Works between 9V–36V, but the user notes that voltage fluctuations can damage the device.


3. WiFi
VCX PLUS also has WiFi and it also works stably.
VCX SE is compact, well assembled, stable WiFi
4. Build Quality & Design
-
VCX PLUS:
- The VCX PLUS is well made, very solid and heavy.
-
Comes in a heavy-duty aluminum case (weighs ~3 kg).
The box is also very high quality and has thick plastic.
-
Features rubber padding for shock resistance.
-
Includes LAN cable, USB adapter, and a detailed manual.
-
VCX SE:
-
More compact and lightweight.
-
Still well-built with durable plastic casing.
-


5. Connection Speed & Reliability
-
The VCX PLUS connects faster to newer vehicles due to enhanced protocol support.
-
The VCX SE is slower but still reliable for older models (2004–2020).
6. Vehicle Coverage
Both device works with Mercedes-Benz C6 and other brands with license (Porsche, Honda, Ford, Mazda, Toyota, etc.).
Which One Should You Buy?
Choose VCX PLUS If:
 Need DOIP v2
support for high-speed advanced diagnostics. Want faster scanning
speeds and broader vehicle coverage. Require a heavy-duty,
rugged scanner for professional use.
Need DOIP v2
support for high-speed advanced diagnostics. Want faster scanning
speeds and broader vehicle coverage. Require a heavy-duty,
rugged scanner for professional use.
Choose VCX SE If:
Prefer a compact,
portable tool.
VXDIAG SATA SSD Cannot Connect with Laptop without SATA Port?
Problem:
One of our customers bought VXDIAG
VCX SE Benz scanner for the smart 450 diagnostic.
It came
with 2.5″ SATA SSD with all the programs on it.
I don’t have a compatible
laptop with 2.5″ SATA port so I bought an 2.5″ SATA to USB adapter.
The
problem is that he can’t boot from the external drive on his laptop.
Solution:
Method 1:
Copy the data of the SATA solid disk to his own computer hard disk.
Method 2:
Connect SATA SSD with a SATA to USB converter, and connect the other end to laptop via USB port.
Set in computer BIOS to UEFI from USB.

It is recommended to buy a second-hand laptop for these HDD/SSD, such as Lenovo T440P I7. It is tested very stable with these hard disks.
VXDIAG VCX SE BMW HDD Asks for Hardware ID?
Problem:
I have vxdiag vcx se BMW scanner running with the HDD without a laptop. When I plug the HDD (MSATA) into my laptop and start ISTA, it asks for the hardware ID. How do I solve this problem?
Solution:
You cannot solve this problem with HDD.
You are using the wrong BMW software HDD.
The activation depends on the seller of HDD.
Don’t use 3rd party BMW software HDD with VXDIAG device.
Use the dedicated VXDIAG BMW HDD. It does not require a hardware ID.
Contact WHATSAPP:0086-18064450969 if need the VXDIAG BMW HDD separately.
The current version goes to Diagnostic 4.39.20, Programming 68.0.800.
