VXDIAG GM DPS Software User Manual
2023.10 VXDIAG GM GDS2 software comes with bonus DPS (Development Programming Tool) 4.52 software.
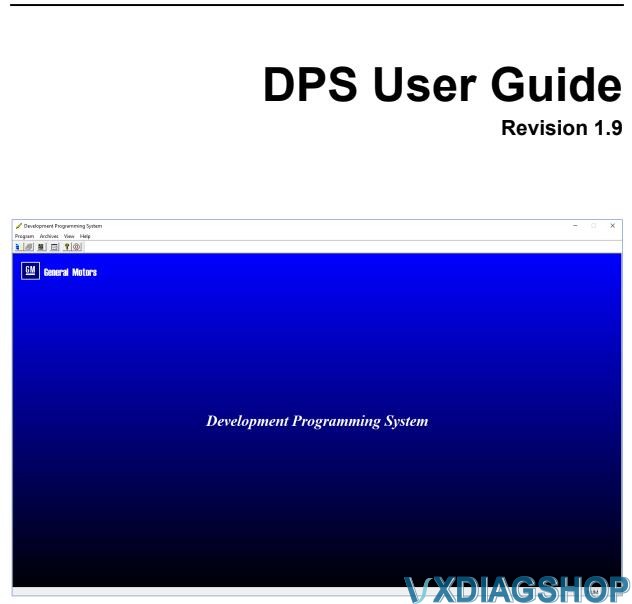
The Development Programming System (DPS) application is a 32-bit Windows-based application used for the flash programming of General Motors electronic control units (ECU) and verification of Service Programming. DPS is a development tool intended for the GM engineering community and ECU suppliers. It is designed to interface with SAE J2534-compliant hardware interfaces during the communication process.
If you are looking for a pdf manual on how to use DPS, check here: DPS User Guide.
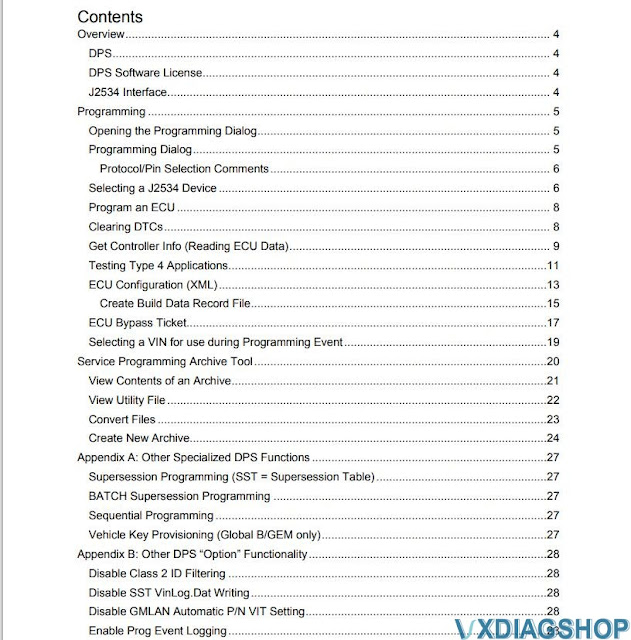
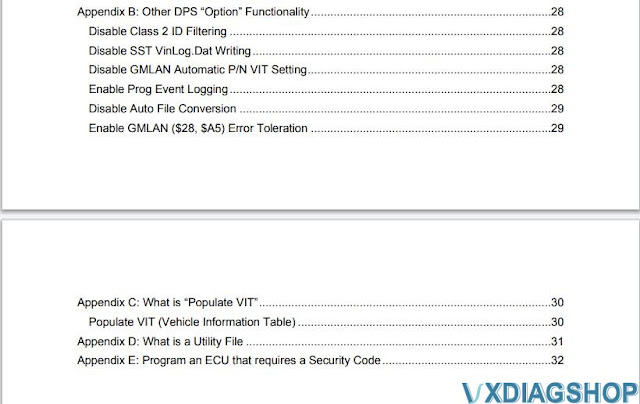
Contents including:
Check also:
VXDIAG GM "GDS2 is Not Communicating with Device" Solution
Problem:
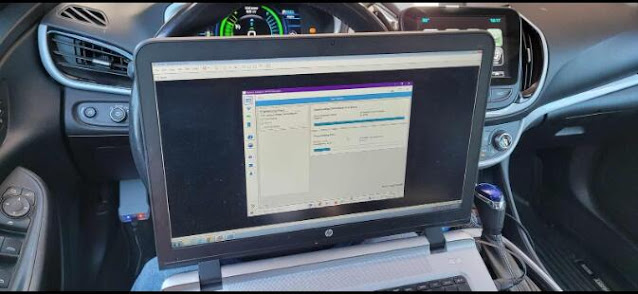
I got the vxdiag vcx nano gm gds2 software installed, open gds2 to diagnose vehicle, it failed to connect.
Error GDS2 is not Communicating with the Device.
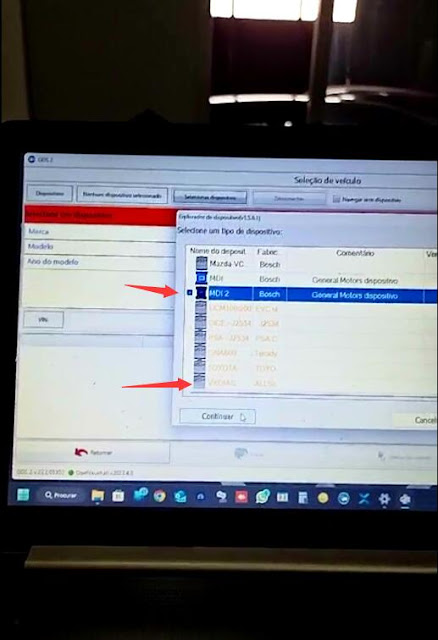
And I don't see mdi or vxdiag device option. Any solution?
Install the MDI driver, and there will be an option to select the device.
If use VXDIAG VCX NANO GM, select the device type as MDI or VXDIAG.
If use VXDIAG VCX SE series devices, select device type as MDI2 or VXDIAG.
If there is a VXDIAG device option, select VXDIAG J2534 as your first choice, otherwise choose MDI2 (vcx se) or MDI (vcx nano).
VXDIAG GM and PSA Service Box Setup Review
Here's an update on clearing the SHVCS. It's a latched fault and cannot be
cleared with the usual OBD readers.
ACDelco no longer works for Vauxhall/Opel
as the parent company is now Peugeot.
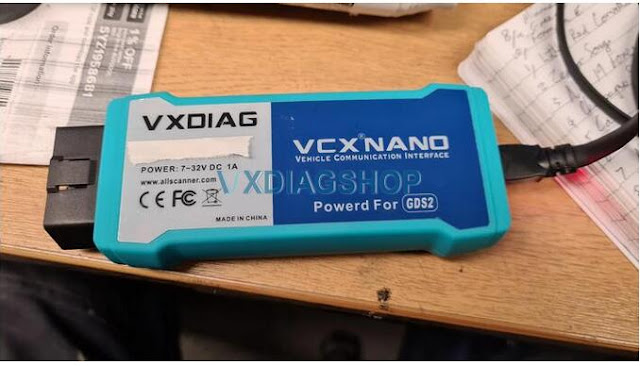
Purchase a VXDIAG
VCX Nano GM OBD device. Here's mine:
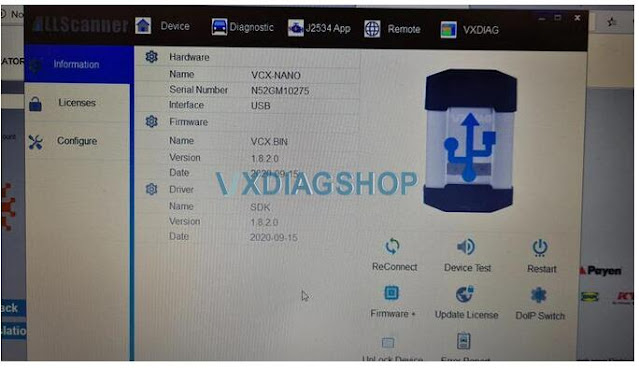
Download and get the VX Manager to communicate with the dongle. This is what it looks like:
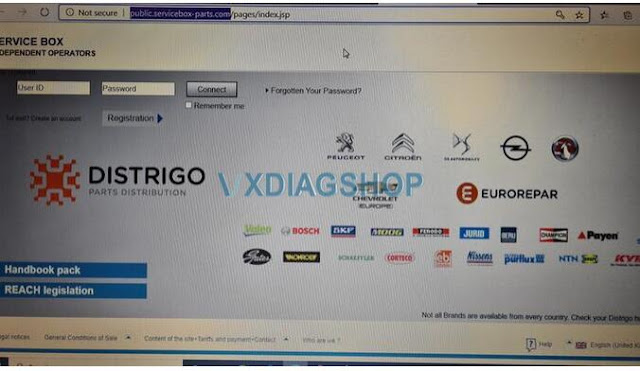
Then go to Service Box. You MUST use Chrome as the browser and NOT
Edge, Explorer or Firefox. For some reason the Java doesn't run properly on
those. You'll need to purchase a 2 hour subscription for SPS programming. It
cost about 50 euros inc tax. You'll have to create an account first.
The
default language is French, so change it. Here's the screen:
Put the car into service mode by pressing Start for about 10 secs without pressing the brake pedal, and connect the dongle and test the connection with VX Manager. Install the javascript program. It takes a while to install (20 mins) and there are lots of screens to click yes and install to.
You'll finally have a screen with many modules to reprogram. You need to select the HPCM2 module.
Run this and it'll start at 30 mins to reprogram but rapidly comes down to about 9 mins. After this I clicked on clear DTCs (might not have needed to but I did it anyway).
I got the error message saying immobiliser fault or something like that. I got out of the car and locked/unlocked. This cleared the fault but there is still a small amber immobiliser warning light.
I've had this before after someone tried to reprogram a key. It went away
after driving a while.
I CAN NOW CHARGE THE CAR!!!
VXDIAG GM 2017 Silverado SPS2 Programming Review
VXDIAG VCX NANO GM/Opel scanner review (October 25th, 2023)
You can get a Tech2 Diagnostic Interface for $800+ or this handy vxdiag vcx nano gm passthrough adapter, used with your laptop for just over $100.
It is not intuitive and I'd recommend checking somewhere else for instructions on how to use it. As far as the software on the included USB, only install what you need as some software is used for older GM, the other for newer.
If you're worried about sketchy software, install it within a VM. Like others, I was successfully able to passthrough the USB device using VMWare and perform the work I needed done. You might need an ACDelco subscription ($45/VIN/2 years) to make the changes you want. This is a GM decision so save the one star reviews for them and their DRM.
Even with paying that, I avoided a tow to the dealership along with the one week wait for an appointment, restoring functionality after a faulty 'protected codes' in my Silverado.
VXDIAG GM SGM RDS "Code Execution Cannot Proceed"?
Problem:
I had a problem installing gm passthru and gds2 driver for vxdiag vcx nano gm device. It reported an error Code Execution Cannot Proceed. Any advice?
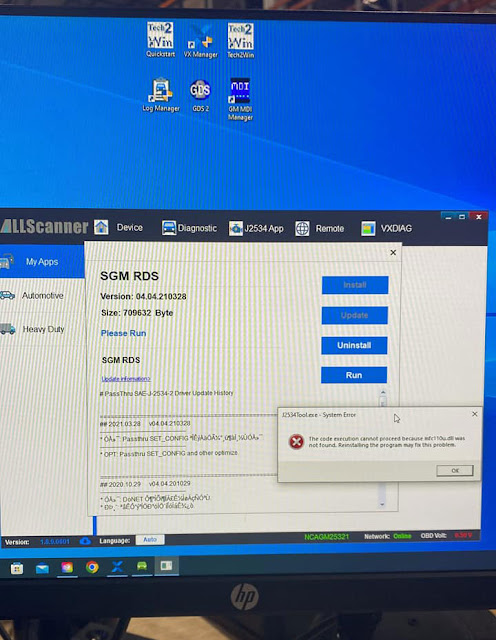
Possible reason:
The operating system is missing mfc110u.dll patch.
Solution:
Download and install Visual C Runtimes All-in-one Jun 2022 patch.
Then install vxdiag passthru and gm drivers again. It should be fine.