Free Download SDD V164 and Patch for VXDIAG JLR
Vxdiagshop.com here provides latest Jaguar and Land rover jlr sdd v164 software free download.
Version: 164
Multi-Language:
Free Download JLR SDD V164 Software
2. Install JLR VCI driver setup
3. Install VX Manager
4. Install SDD Patch
How to Open VXDIAG Benz 2022 WIS and EPC?
Problem:
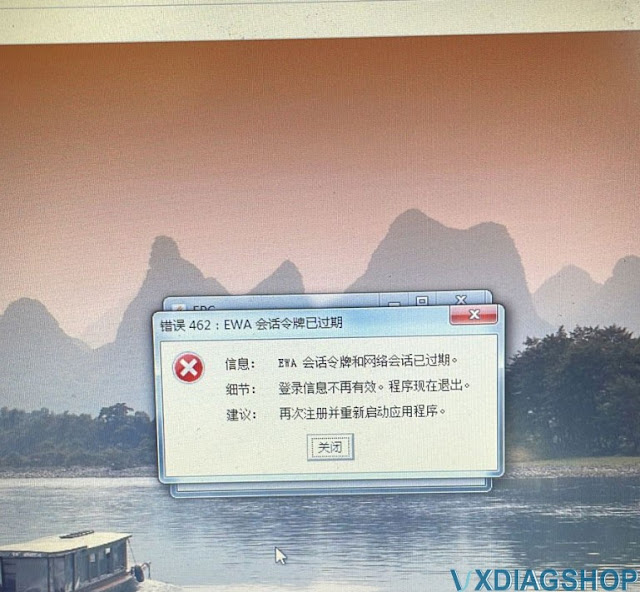
I had a problem running vxdiag vcx se Benz 2022.12 EPC software. Starts from WIS-EPC on desktop and run EPC from vmware. But got an error 462.
How to fix it?

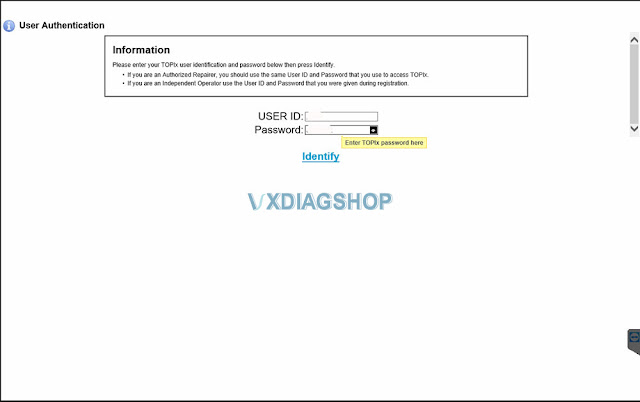
For vxdiag xentry software 2022 onwards , please open WIS and EPC as follow:
Open WIS
Run WISALL2022 on desktop to open WIS
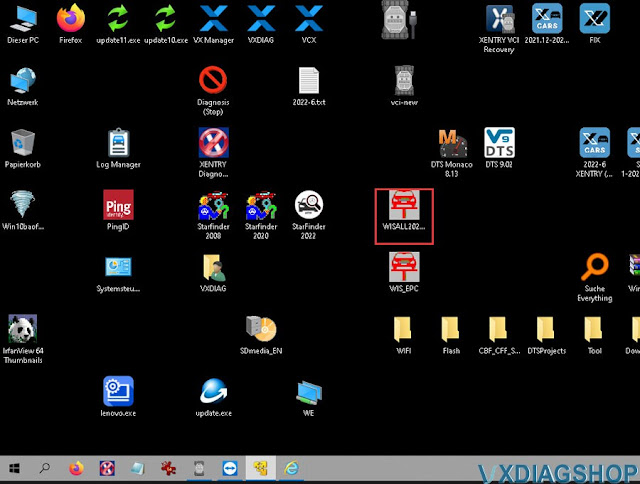
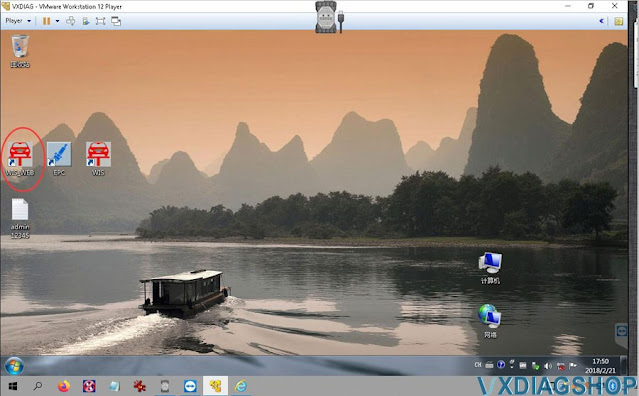
Open EPC
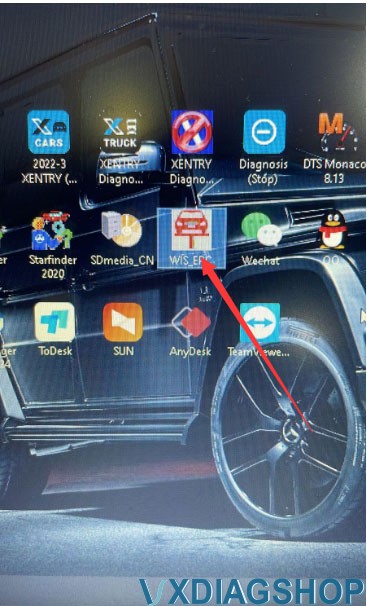
Run WIS_EPC on desktop

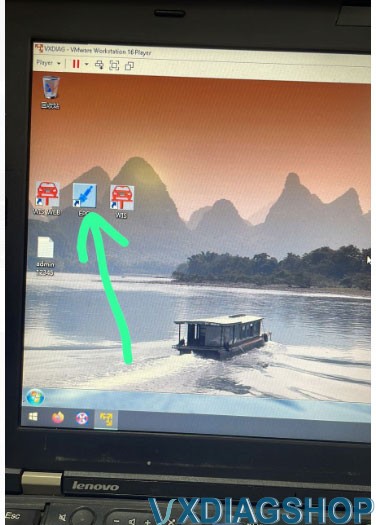
Run WIS_WEB from vmware workstation to open EPC
Read also:
How to Activate V2020 and Later VXDIAG Benz WIS EPC Software?
Program 2020 Tacoma TPMS by VXDIAG Techstream
Which is a better Techstream cable to register/program TPMS IDs on a 2020 Toyota Tacoma? Here's the user unbiased review.
Background:
I recently installed a 3″ lift, and naturally, got bigger tires (285/70/17) and new wheels. After a month long, painstaking experience with my local 4WP shop, I opted to not let them work on my truck and decided to do everything myself (minus the alignment and tire mount/balance).
One of the many problems I had with 4WP, including waiting 4 days for my tires to be mounted and balanced, was that I had asked them to scan the new TPMS sensors that they installed so I could program the ECU w/techstream. I was told that's not how the TPMS (system) works and that "the truck will learn the TPMS sensor IDs itself". As a former diesel mechanic, I knew this to be bullshit, despite my very limited interaction w/the TPMS. This issue is what would be solely responsible for the rabbit hole that I would be diving down…that and my spitefulness.
So. Now begins the fun.
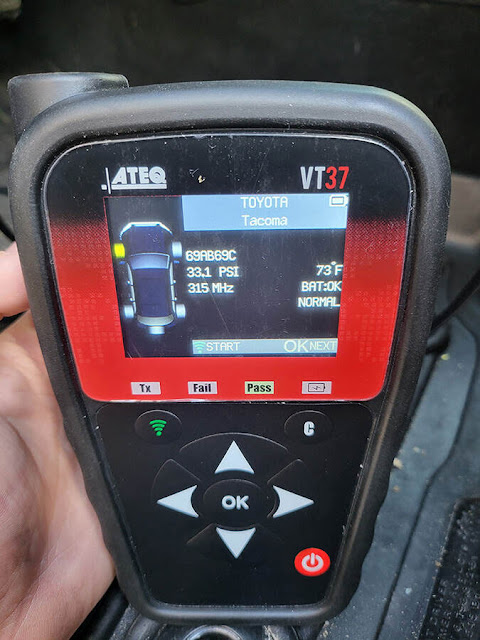
I found the model of the TPMS sensors that 4WP installed (Oro-Tek PDQ) and
purchased a scanner/programmer that was compatible w/them (ATEQ VT37). Now,
this part isn't technically needed if you were able to obtain the sensor ID's
from the physical sensor itself or by asking a COMPETENT tire shop to write them
down for you when they mount/balance.
I then, like many others,
purchased a Mini-VCI cable. It's just a cable right? Ha. No.
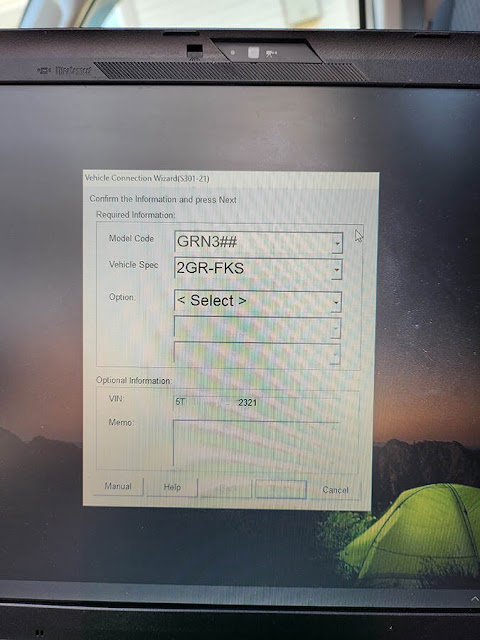
So I install the drivers for the cable and select the appropriate VIM on techsteam. I then connect to my truck via techstream and noticed that the vehicle information doesn't auto-populate like on the Mac/Volvo/Hino/Mitsu software I've used in the past. So, I manually inputted it, not thinking much of it.
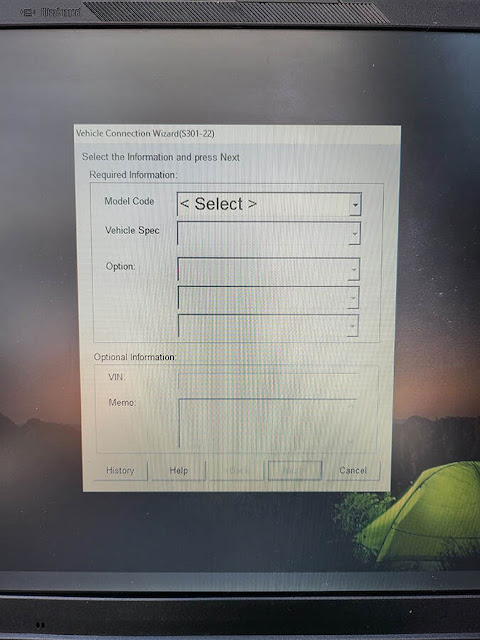
I then go into the Tire Pressure Monitoring System and open the Utility to program the new TPMS sensor IDs input the IDs which I scanned off the sensors…and get this error:

At this point, I tried changing and reverting other settings from within techstream. They all worked fine. I then tried 3-4 other releases of techstream. Still won't work. After a crap ton of searching I saw the TSB about jumping pins on the OBDII plug, but noticed that one of the spots didn't even have a pin in it, so that was useless. I saw a few "your cable is bad" comments and several "I tried multiple of the same Mini-VCI cables" responses.
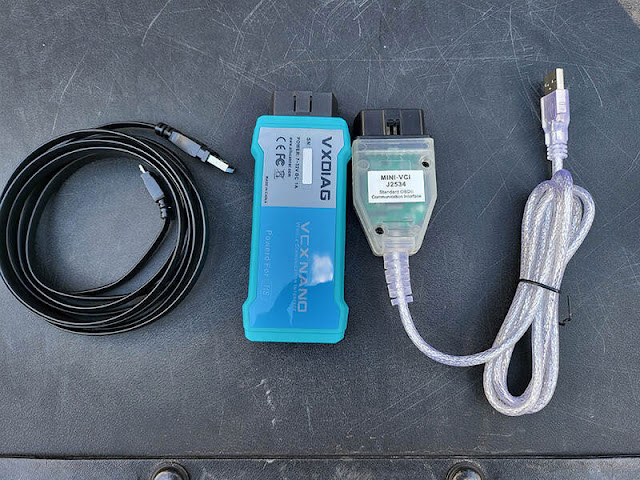
I then found someone who had posted something about a "VXDIAG VCX Nano Toyota cable" claiming that it worked for them. I then found a VCX Nano for Toyota (it appears each manufacturer has it's own model) on vxdiagshop.com for $95. I figured if this is what it costs to have something that actually works then I'll try it.
It arrived today and I once again found myself installing drivers and setting the VIM to what I now see as "Toyota J2534". This is beginning to look promising. I launch techstream and connect the truck and the first thing I notice is that it has auto-populated my VIN, model code, and vehicle spec. It also loaded much faster than the Mini-VCI cable.
Jump over to the TPMS menu again, try changing the sensor IDs and…
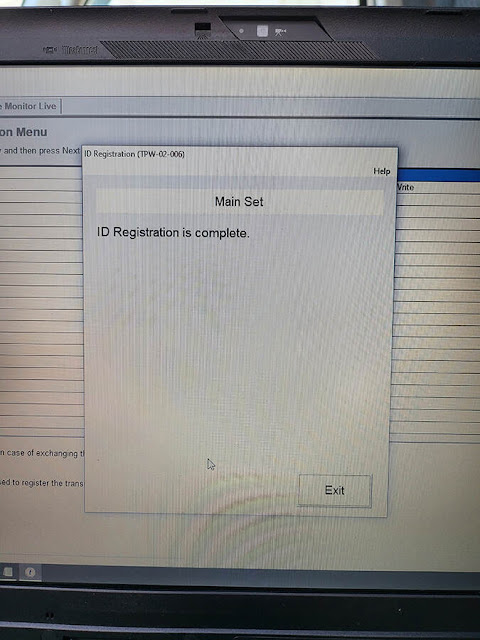
Well hot dang…it actually worked. Proof below if you need more convincing to spend the money on a better cable:

As you can see, using a very scientific numbering scheme for my new sensors, it worked.
Morale of the story. I spent way too much time and money, purely out of spite for my local 4WP shop and for the future of tire changing freedom. But I hope that this post will help someone else who is struggling to figure out why they cannot program their TPMS sensor IDs with techstream.
Total cost:
$95 for the VCX Nano
$153.67 for the VT37
$32.99 for the Mini-VCI
cable
So yea, less than $300 purely out of spite/anger. But I'm also slowly gathering everything I need to do my own tire installs and alignments. And like I said, you don't necessarily NEED the TPMS programmer/scanner. The important thing in that list is the VCX Nano Techstream cable. Without it, you will not be able to program the TPMS ECU (at least w/3rd gens). Don't waste your money on the Mini-VCI. There are other brands out there as well, but from my research, they were far more expensive. The other option is to buy a $300+ TPMS programmer/scanner that comes with an OBDII cable. Should be able to program everything there.
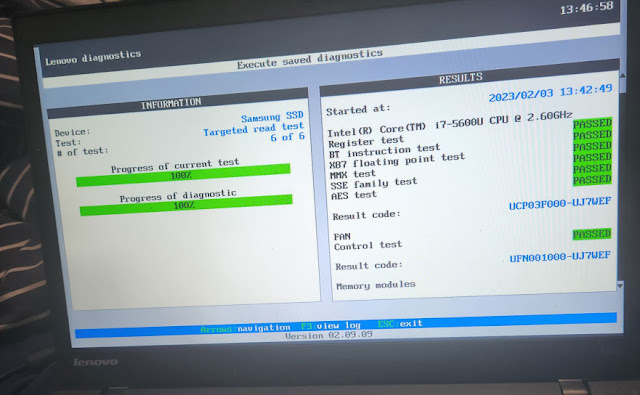
The link to the VXDiag Drivers/Software has both V16 and V17. Also, I don't recommend installing it on a computer you use everyday. You'll need to disable the windows virus protection or it'll delete files it marks as malware. I use an old lenovo thinkpad that I had bought on eBay 2 years ago for use in my garage.
You can probably get away with a scanner that just reads the IDs, or see if a tire shop can scan them for you real quick and write them down. They're a simple 7 digit hexadecimal code. You'll need to know the sensor brand before you buy a programmer, as not all programmers are compatible with all brands (such as the Autel programmers). However, as just a scanner tool, I believe all scanners can read any sensor. I could be wrong, but they all work off the same frequency (315mhz) so I don't see why not. Also, reprogramming the physical sensors only works on reprogrammable sensors. It will not work on OEM ones. So, you don't necessarily need to drop $150 on the VT37. I bought it because I plan on doing all of my own tire/alignment work in the future because I don't trust most of the shops in my area and the good ones are always backed up.
http://blog.vxdiagshop.com/2023/02/07/program-2020-tacoma-tpms-ids-with-vxdiag-vcx-nano-techstream/
VXDIAG ODIS "Insufficient Disk Space to Download" Solution
Problem:
I got the vxdiag vcx se and 2TB hard drive software ful package. When registering vw odis 9.1.0 software, it says insufficient disk space to download and won't let me continue. Any solution?

Solution:

Return to the previous step to check the download directory
Copy and paste that update file to another disk
Then select new download directory of new update file.
Failed to Start VXDIAG Full 2TB SSD Solution
Problem:
I had a problem with vxdiag vcx se full 2tb solid drive (SSD). Failed to start system. Images attached below. How to fix it?

Solution:
Enter BIOS, enable UEFI.
Power on laptop.
Press F1 (if it is Lenovo laptop) to enter BIOS Setting.
Then follow video below to Enter BIOS Change Boot order and secure boot Lenovo
https://youtu.be/jw_ZNgEn874