VXDIAG HDS and HIM HDS Which to choose?
Question: How to choose an affordable Honda diagnostic scanner then you can easily and quickly determine the cause of the check engine light in my car? I am considering vxdiag and the HIM clone with double-board?
Comparison and Suggestion:
Affected VXDIAG HDS Scanners:
VXDIAG VCX SE Pro with optional 3 car software incl. HDS
VXDIAG VCX SE Full with HDS license
VXDIAG VCX DoIP full with HDS license
VXDIAG VCX Plus FORD MAZDA HONDA JLR 4 in 1
VXDIAG VCX Plus TOYOTA HONDA Land Rover Jaguar 3 in 1
Operating system:
HDS for HIM better loaded on Win7, some tested Win10 success well
VXDIAG HDS Win7 Win8 Win10 all testing working no issue
Software
VXDIAG Honda latest software comes to V3.103.048, multi-language, Free software updates
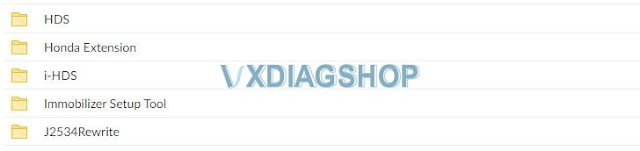
Software including
- HDS
- Honda Extension
- i-HDS 1.005.028
- Immobilizer Setup Tool
- J2534Rewrite with calibration files
HIM currently use HDS software version V3.103.066,, multi-language , Free software updates
HIM HDS does not contain i-HDS and J2534 Rewite program.
i-HDS is used for newer >2017 and more. so VXDIAG will work on both new and old Honda.
HDS can’t access new Honda IMMO anymore. You will need i-HDS installed.
The J2534 Rewrite software is meant for the North American market. The Rewrite software allows to update powertrain models such as PCM and TCM.
A subscription to the i-HDS and J2534 pass-thru device (i.e vxdiag) can access more functions
- J2534 ECU Reprogramming
- ADAS calibration
- TPMS calibration
- Function Tests
- SRS Deployment Status
- etc
Function:
they perform same functions, full system diagnostic, live data, Special functions – changing of permissible settings of blocks, programming etc.
VXDIAG HDS can do ECU reprogramming and IMMO key programming with i-HDS subscription.
Suggestion:
If you are a DIYer or a Honda car owner, surely HIM clone is your choice. The biggest advantage of vxdiag HDS is that you are allowed to add multi-brand software into one single device, Benz xentry, BMW ISTA, Toyota TIS, JLR SDD, GM GDS2/T2W, Subaru SSM. VXDIAG HDS is your best choice if you are a professional technician.
https://www.vxdiagshop.com/service/vxdiag-honda-hds-and-hds-which-to-choose.html
Honda CVT DCT gear Calibration with HDS
Here is the step-by-step guide of Honda CVT DCT gear Start Clutch calibration procedure using the Honda diagnostic system HDS and VXDIAG VCX Plus device. VXDIAG HDS works well Honda, recalibrate and update modules software without any problems.

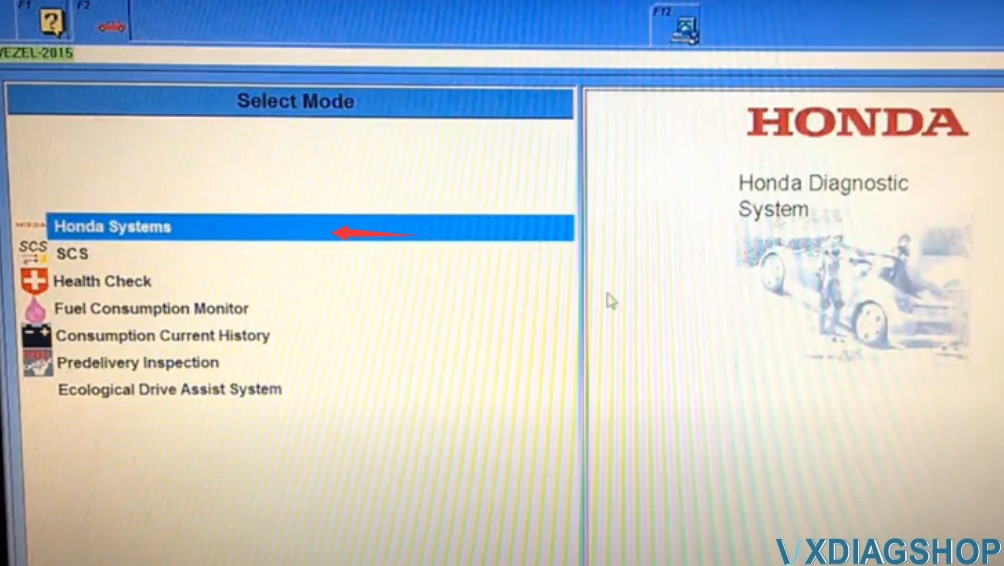
Run HDS software, complete vheicle informaton
i,e a 2015 VEZEL
Select Honda Systems – AT – Adjustment Menu – Clutch Assembly by Pressure


Stop the engine and stop the vehicle
Select parts you have already replaced: Clutch Assembly by Pressure
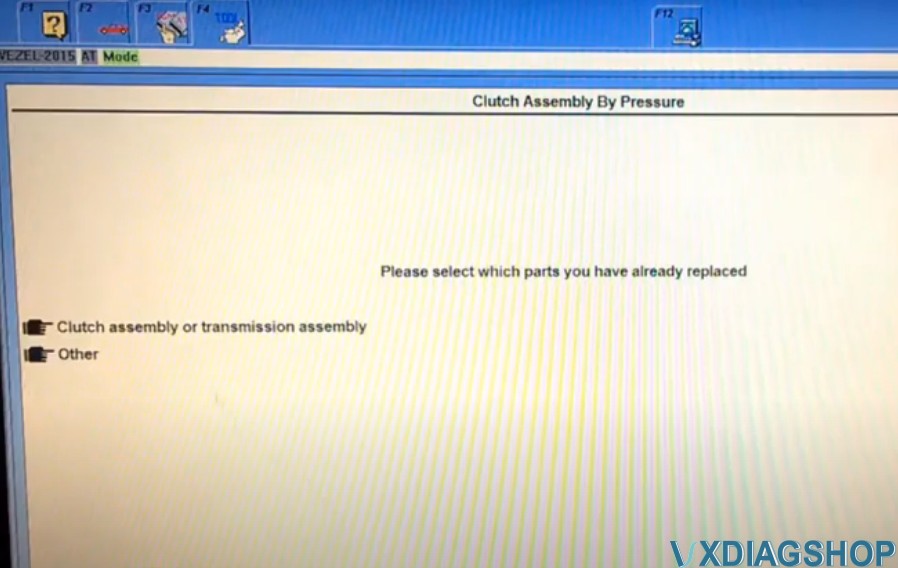
Confirm the parts has been replaced.
Turn the ignition switch off
Turn the ignition switch on
Turn the ignition switch off
Turn the ignition switch on
Turn the ignition switch off in 30sec
Turn the ignition switch on

Operation success. Detect an DTC P2788, clear the DTC.
Go to back to Adjustment Menu, select Clutch Filling Check

The test takes up to 20 minutes, connect the vehicle to a battery booster. Stop the engine and vehicle, parking brake is ON.
Turn the ignition switch off in 30sec
Turn the ignition switch on
Clutch Filling Check operation has been completed
Go to back to Adjustment Menu, select EOL Reference Search
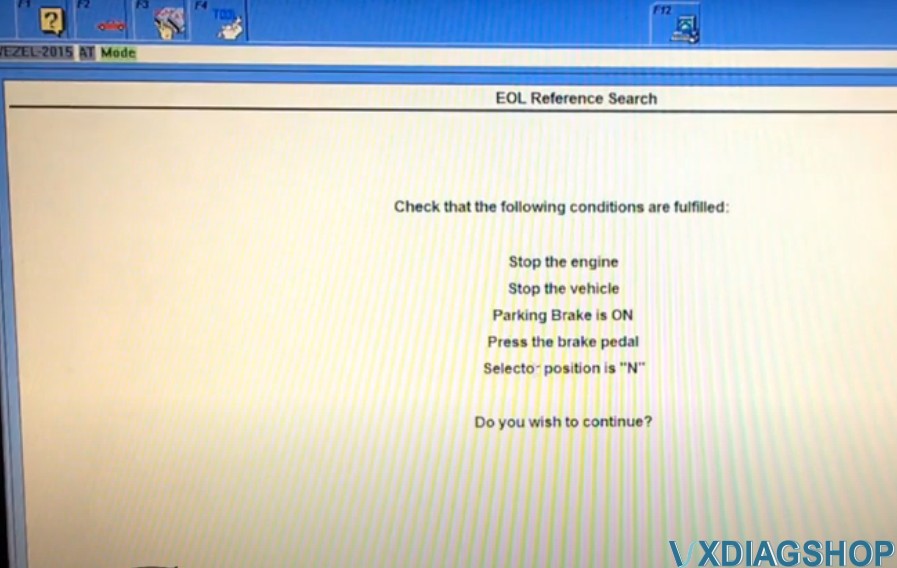
Stop the engine, stop the vehicle, the parking brake is ON, press the Brake pedal
Turn the ignition switch off in 30sec
Turn the ignition switch on
Operation success
Select EOL Learn Gear
Stop the engine, stop the vehicle, the parking brake is ON, press the Brake pedal
Turn the ignition switch off in 30sec
Turn the ignition switch on
Operation success
Select Clutch Clamp Force Characteristic

Stop the engine, stop the vehicle
Turn the ignition switch off in 30sec
Turn the ignition switch on
Operation success
Select EOL Learn Synchronizing in Sequence
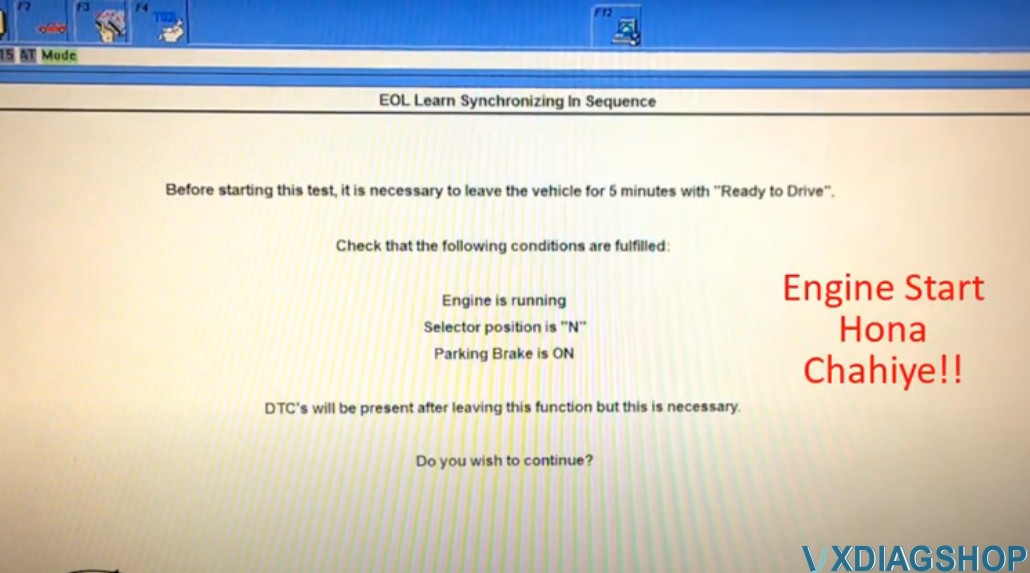
Make sure engine is running, selector position is N, parking brake is ON
Leave the vehicle for 5 minutes with engine running
The vehicle is now ready to run the test

Make sure engine is running, selector position is N, paring brake is ON, press the Brake pedal
Turn the ignition switch off in 30sec
Turn the ignition switch on
Operation success, delect DTC P287C


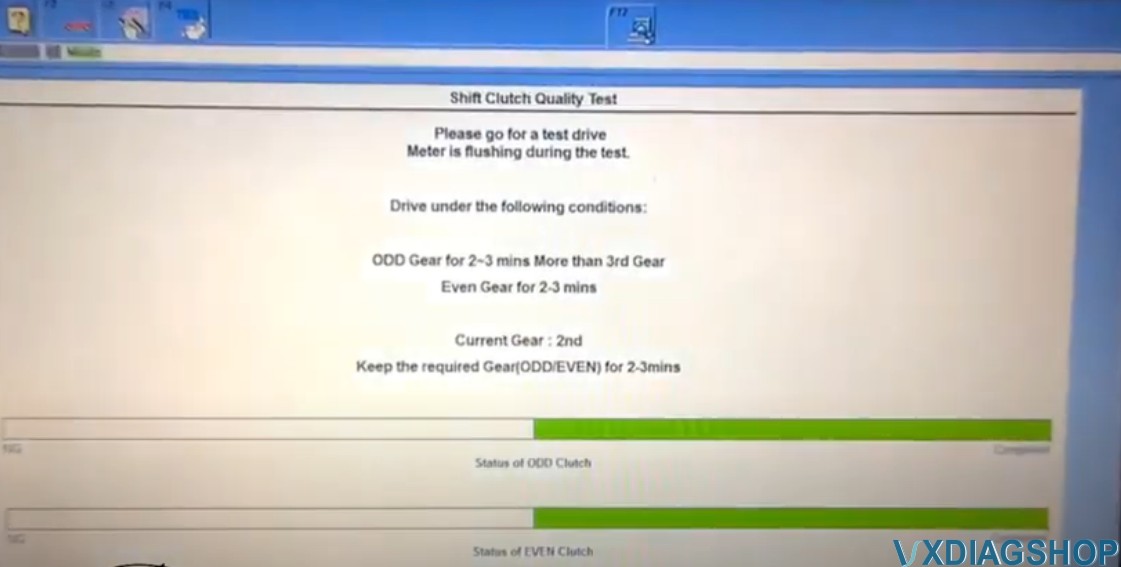
Select Shift Clutch Quality Test
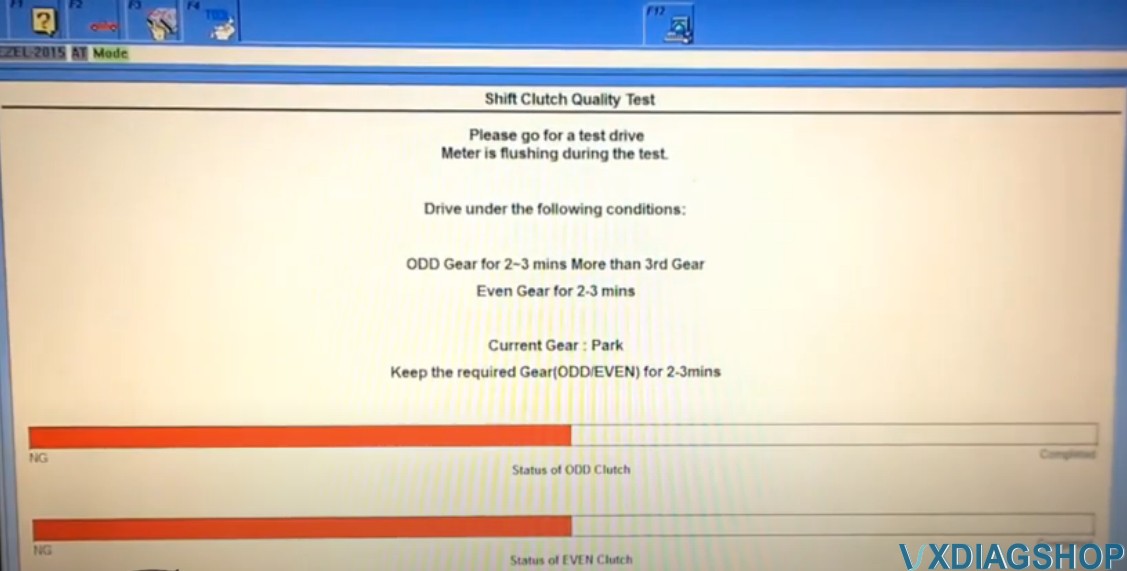
A test drive of about 10 mins is required during this process.
HDS will beep and judder will be smooth when the process is completed
Make sure engine is running.
Turn the ignition switch off in 30sec
Turn the ignition switch on
Operation success
Select Open The Refill Orifice
Stop the engine, stop the vehicle, there are no DTCs on this system, parking switch is ON.
Turn the ignition switch off in 30sec
Turn the ignition switch on
Operation success
Honda CVT DCT gear Calibration with HDS
Here is the step-by-step guide of Honda CVT DCT gear Start Clutch calibration procedure using the Honda diagnostic system HDS and VXDIAG VCX Plus device. VXDIAG HDS works well Honda, recalibrate and update modules software without any problems.
Run HDS software, complete vheicle informaton
i,e a 2015 VEZEL
Select Honda Systems – AT – Adjustment Menu – Clutch Assembly by Pressure
Stop the engine and stop the vehicle
Select parts you have already replaced: Clutch Assembly by Pressure
Confirm the parts has been replaced.
Turn the ignition switch off
Turn the ignition switch on
Turn the ignition switch off
Turn the ignition switch on
Turn the ignition switch off in 30sec
Turn the ignition switch on
Operation success. Detect an DTC P2788, clear the DTC.
Go to back to Adjustment Menu, select Clutch Filling Check
The test takes up to 20 minutes, connect the vehicle to a battery booster. Stop the engine and vehicle, parking brake is ON.
Turn the ignition switch off in 30sec
Turn the ignition switch on
Clutch Filling Check operation has been completed
Go to back to Adjustment Menu, select EOL Reference Search
Stop the engine, stop the vehicle, the parking brake is ON, press the Brake pedal
Turn the ignition switch off in 30sec
Turn the ignition switch on
Operation success
Select EOL Learn Gear
Stop the engine, stop the vehicle, the parking brake is ON, press the Brake pedal
Turn the ignition switch off in 30sec
Turn the ignition switch on
Operation success
Select Clutch Clamp Force Characteristic
Stop the engine, stop the vehicle
Turn the ignition switch off in 30sec
Turn the ignition switch on
Operation success
Select EOL Learn Synchronizing in Sequence
Make sure engine is running, selector position is N, parking brake is ON
Leave the vehicle for 5 minutes with engine running
The vehicle is now ready to run the test
Make sure engine is running, selector position is N, paring brake is ON, press the Brake pedal
Turn the ignition switch off in 30sec
Turn the ignition switch on
Operation success, delect DTC P287C
Select Shift Clutch Quality Test
A test drive of about 10 mins is required during this process.
HDS will beep and judder will be smooth when the process is completed
Make sure engine is running.
Turn the ignition switch off in 30sec
Turn the ignition switch on
Operation success
Select Open The Refill Orifice
Stop the engine, stop the vehicle, there are no DTCs on this system, parking switch is ON.
Turn the ignition switch off in 30sec
Turn the ignition switch on
Operation success
Reset Honda Odyssey 2008 ECU by VXDIAG HDS
Vehicle Model:
Honda Odyssey 2008 Touring
Purpose:
Fix poor acceleration issue
Problem and symptom:
a whole year of poor acceleration
The poor acceleration problem started with temperatures over 100+ F, Basically the engine wont pickup in power till its passed 2.5-3k rpm then it would feel normal to drive once its up in gears at highway speeds. This issue wont happen on a cold engine, it gets worse as the engine heats up and the weather gets hotter.
I will go down a list of things I suspected and changed,
1) Fall ’16, Replaced original factory sparkplugs with oem units, they had 110k on them, problem wasn’t solved.
2) Fall ’16, Replaced EGR after a false positive diagnostic on my part. Problem wasnt solved.
3) Winter ’17, Replaced fuel pump since it was cracked per recall, I said maybe its was a lazy fuel pump. Problem wasnt solved.
) Spring ’17, This VCM engine consumed oil since it was new, we all know what happened there with honda. I was lead to belive that the front catalytic converter was pluged up, I inserted a tube camera through the front cat top oxygen sensor hole, sure enough it looked plugged up and ready to be replaced, I replaced it along with a brand new oem alternator that smoked in the past but didnt fail. Upon driving the car it felt much better but not 100 % resolved. Summer ’17 kicked in with the heat and the problem showed it ugly face again!
5) Summer ’17, I decided to gut out the rear cat since the front cat replacement showed progress…..it didn’t work and the problem after one year is still the same with dead end solutions.
6) Summer ’17, I started to suspect the Torque Converter, that’s when l remembered that honda updated the software on my car to resolve the shuddering problem in the past. I wanted a way to get into the ECM to see what’s up. I previously bought a device that runs the Honda HDS software, I couldn’t get it to work, till Now!, As soon as I figured things out, I found a throttle body calibration option, I cleaned the Throttle out of the engine, finished the calibration, drove it for a while, car felt different but problem wasnt solved. Again.
7) Summer ’17, I decided to dig into the HDS software, after looking up all the old DTC codes, I cleared all the old DTC codes that you couldn’t see with a generic obd2 reader. Moved on and found engine ecu reset, reset the ecu and took it for a drive, nothing, reset the transmission ecu and took for a drive, nothing changed.
8) Summer ’17, waiting for the car to build up mileage since the rest, nothing changed after 100 miles, give up and let it go for a while. At around 500-700 miles after the ecu’s reset the car changed!!! WoW,,,,I couldn’t believe it!!! A simple ecu rest and relearning, and the car felt like new or even better!, even the mpg went to levels that I havn’t seen since the car was new!….Acceleration felt mighty strong.
FINALLY, LONG YEAR problem resolved.
Device to use:
This is the tool i used to run the Honda software on my win7 laptop,
VXDiag Multi Diag Tool 3 in 1 for Toyota Honda and JLR