How to Set up VXDIAG DoNET Remote via Wechat?
The DoNet remote diagnosis mode only requires a single client VCX device to realize multi-brand original software direct connection to remote vehicle diagnosis. This article introduces the steps of using DoNet remote diagnosis with VXdiag VCX device i.e VXDIAG VCX SE (vcx se pro, vcx se bmw, vcx se jlr, vcx se benz). Same procedure goes to vcx doip series.

If don’t have Wechat, follow DoNET setting via phone explorer directly here.
Requirements
Server
- Prepare the computer with original software.
- Confirm that the latest VXManager client software and the original diagnostic driver have been installed.
- Confirm that the computer has a stable and fast network connection (wired network connection is recommended).
Client
- Connect the VCX device to the vehicle.
- Confirm that the vehicle is powered by a stable power source.
- Confirm that the device has stable and fast network connection (wired network connection is recommended).
Steps:
- Follow the official account
Scan the QR code or open WeChat to search for ” DoNet 远程诊断平台” and follow.

Click [智能诊断] to enter the remote diagnosis platform.

- Configure user information
User information needs to be configured for the first use. Please fill in the mobile phone number to facilitate contact between you and VXDIAG engineer.


- Bind Device
The VCX device serial number needs to be bound for the first use.

- Configure Device Network
For remote diagnosis, the device needs to be connected to the Internet, and click [Configure Device Network].
Select the device network connection method and follow the on-screen guide to complete the network configuration.
There are several methods to connect:
Wired network connection
Wireless network connection
Mobile hotspot network connection

Configure Hotspot
1) Just simple click on “Next” and follow the on-screen guide to complete Hotspot configuration.
Please connect VCI to vehicle or power supply.
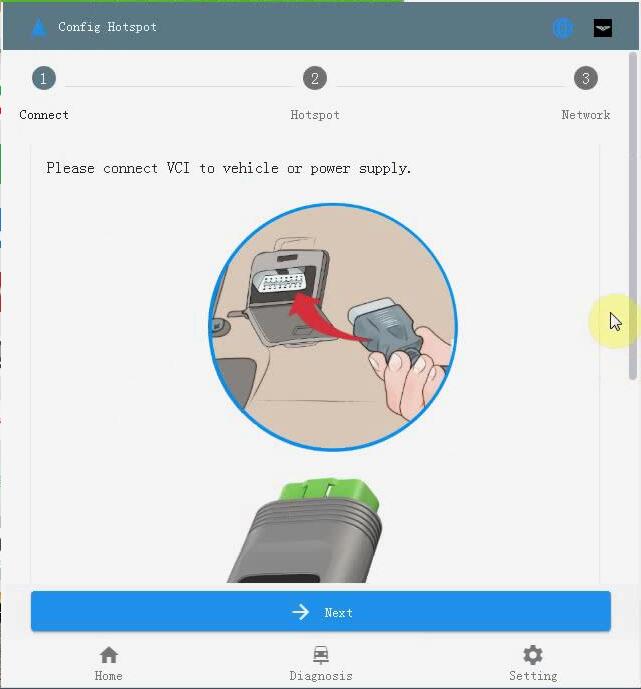
2) Open [Settings -Wifi -Hotspot], Turn on Hotspot and set the name and password as: DiagOnNet.

3) Press the button (Fn) for 3 seconds to enter NetConfig mode, wait about 30 seconds to hear the buzzer, then the network is successfully connected.


Configure wired network connection:
1). Make sure that the VXIDAG VCI is connected to the vehicle or the power supply and it works properly.

2). Use a USB TYPE-C to RJ-45 network port cable to connect the device, and then use a CAT-6 network cable to connect the device to the router.

3). Press the Fn button of the device for 2 seconds to enter the network configuration mode, and wait for about 30 seconds until you hear the device buzzer “beep” to complete the network configuration.

*Please ensure that the Internet connection is stable and fast, when the network speed delay is less than 100ms,it is recommended to choose the wired network first.
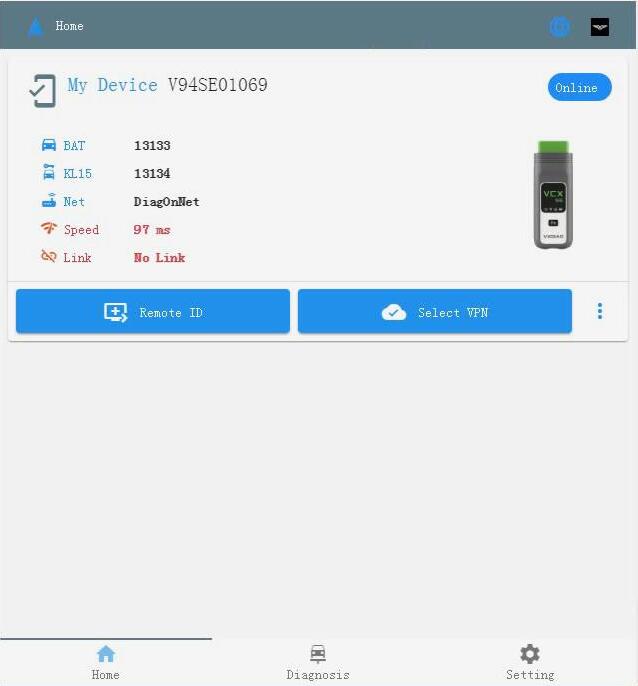
- Configure network connection successfully
After the device is successfully connected to the Internet, the home page will display information including the device serial number, voltage, network, and speed.
- Share [Remote ID]
Click on [Remote ID] to copy the ID and send it to the server, and wait for the server to start remote.

Next is VX Manager operation
- Open the VX Manager device management software and click on “Remote”.
- View remote device information
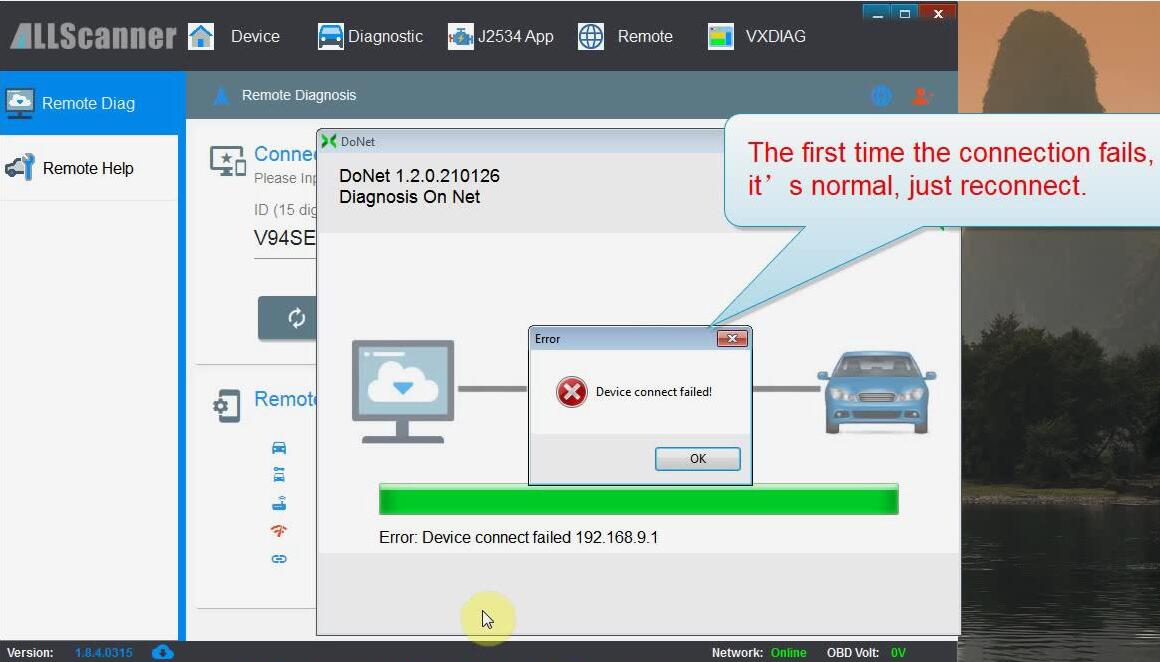
Input the correct [Remote ID] and click [Refresh Device], you can see that the client device has been connected normally.


- Connect to the remote device
Click [Connect Device] to start to establish a remote connection.
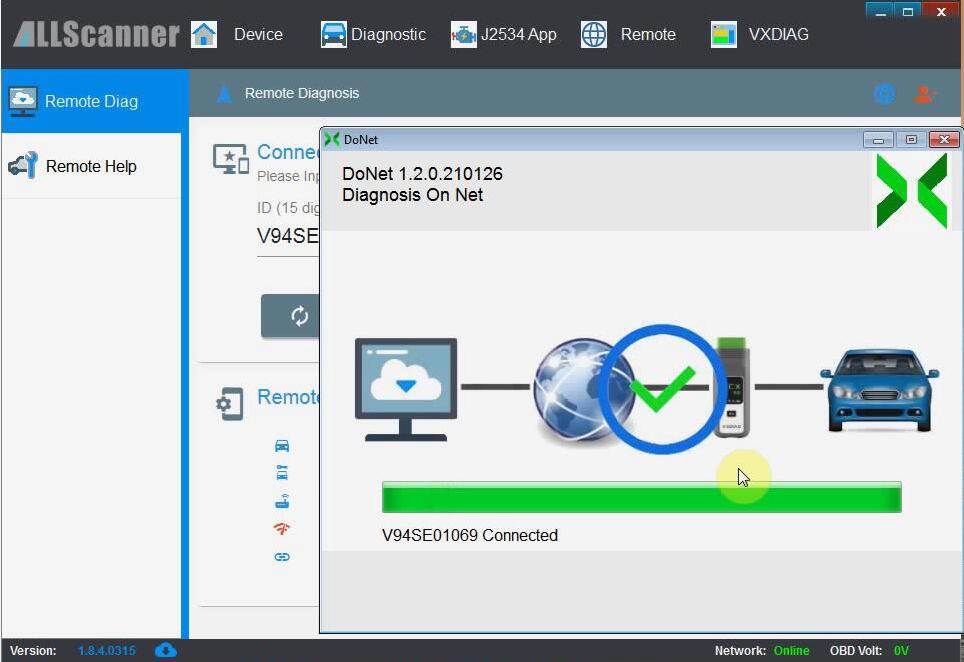
- The remote connection is successful
After the remote connection is successful, the VX Manager software will automatically restart, and you can see that the device information has been read through the DoNET remote interface.

- Start remote diagnosis
After the remote connection is successful, you can use the original software for remote diagnosis, coding, programming and other operations.
After the diagnosis is completed, you need to click [Disconnect] on the [Remote Diagnosis] page to release the remote device.


Enjoy
Can i use VXDIAG Ford with Suzuki SDT2?
Question:
I have seen people use Suzuki SDT-2 software with Ford VCM2 clone. Will VXDIAG Ford / Mazda work with STD2 Suzuki? Do you know how to make my VXDIAG work with SDT2?
Answer:
If it works with Suzuki, you can try to install the file that emulates the ford or mazda machine and then copy the drivers in the suzuki folder to see if it is working.
Unfortunately, we have customers tested and confirmed it won’t work with vxdiag ford, only Suzuki VCM (or Ford VCM2.)
Test and Report:
I have Allscanner VXDIAG VCX Plus. It is supporting Toyota/Honda/Ford/Mazda. So I did try to install SDT according to VCM2 Instructions. In first step installing STD2 2.17.0.39 the program asking to connect VCM. I did connect my Allscanner VXDIAG. But the STD@ program say” Couldn’t find VCM. In this situation I can’t install STD2.
Disclaimer:
VXdiag devices are not be compatible with Suzuki sdt2.
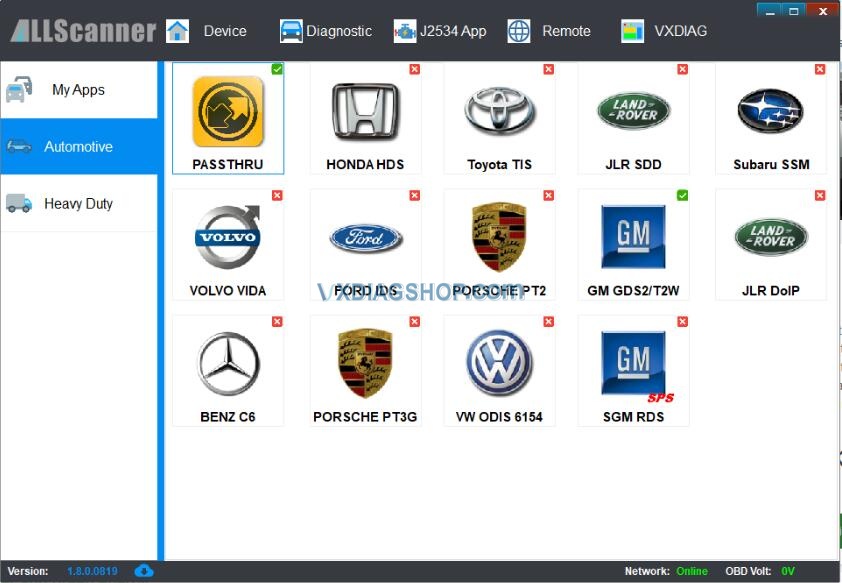
VXDIAG VCX NANO GM Volt SPS Programming Setup
With SPS you can update the ecu software ( gm calls it calibration). Other tweaks can be done with gds2 offline. The following is what you can do to get Chevy Volt to work with VXDIAG VCX Nano GM via SPS:
Note:
Only have to install PASSTHRU when installing VX Manager app if all you are doing is SPS programming…you don’t need to open the VX Manager app to use SPS.
It is a good idea to check if your VCX Nano is running the latest firmware using the VX Manager app though.

Subscribe ACDelco Module upgrade software (https://www.acdelcotds.com/subscriptions)
You have to get GMs J2534 Wrapper to install successfully. I did this by executing old legacy IE in administrator mode to logon to ACDelco TDS (right click select ‘run as administrator’)
You only have to do this once. After the J2543 Wrapper is installed you can run java normally not as administrator
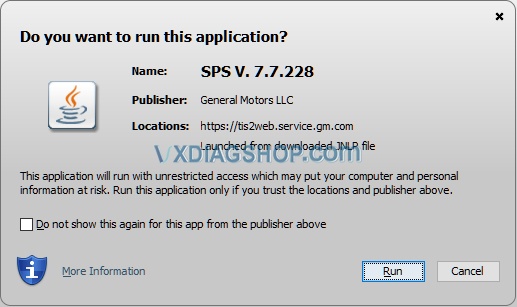
After you launch SPS java select run above
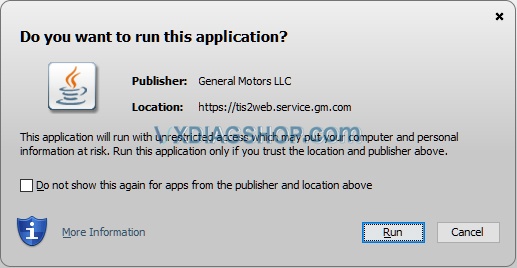
Again, select run at the above dialog box
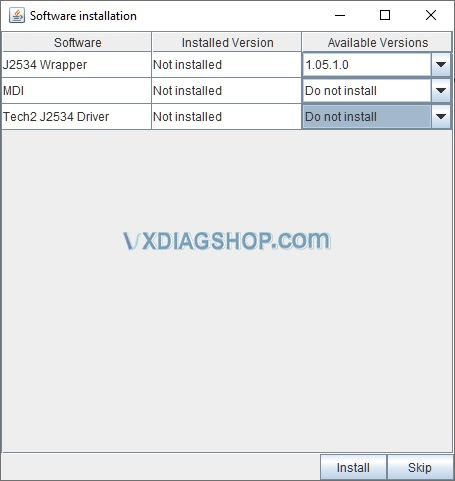
You don’t need MIDI or Tech2 drivers to do any SPS programming…just the J2534 Wrapper as shown above then hit Install button
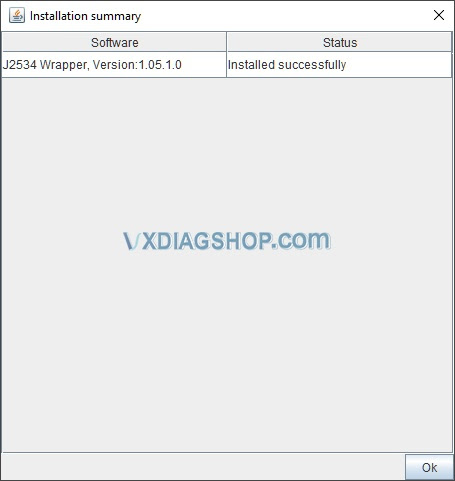
If java was executed as administrator, you will get the above showing J2534 Wrapper was installed successfully…if you didn’t run as administrator it will fail
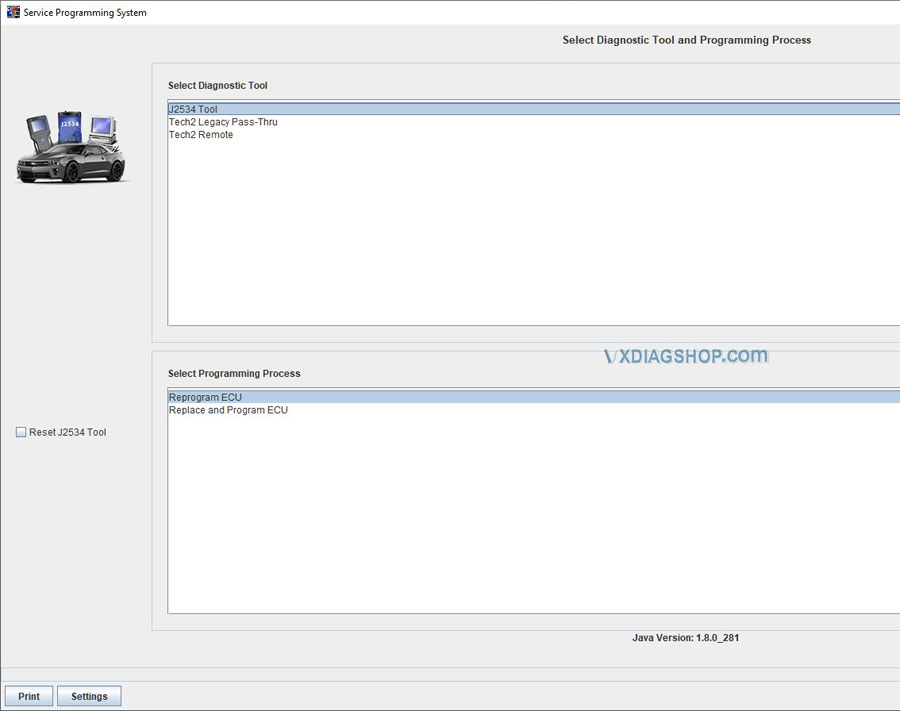
Now you should be able to select the J2543 Tool in order to push firmware onto your volt..SPS should now be able to read VIN w/o issue!
VCX allows programming and is more like what the dealer uses.
Does VXDIAG VCX NANO GDS2 do 2018 GMC Sierra?
We helped a friend solve this problem via Teamviewer and would like to share experience here. Hope it helps if someone has the similar situation.
Problem:
Cannot find 2018 GMC Sierra model on GDS2 2020.07 provided. Install GDS2 for vxdiag vcx nano gmon Windows 10 system.
Vxdiagshop.com solution:

You have selected the wrong software region. GMC Sierra is under GM Global 2020.07 pack.

VXDIAG GM GDS2 supports 2018 GMC Acadia, Canyon, Savana, Terrain, Yukon, Yukon XL models as well.
GDS2 is working fine on the GMC Sierra 2018.

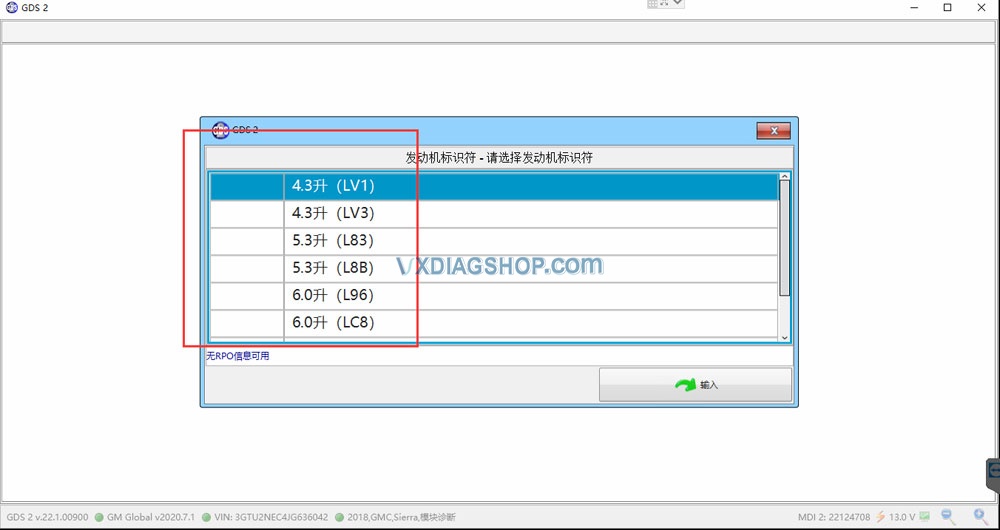

Feedback:
Yes, it works. vcx nano gds2 connect to all control modules.
Done a NOX sensor reset and DPF regen without problem.
VXDIAG Benz Xentry 2020.12 Connect Device Error
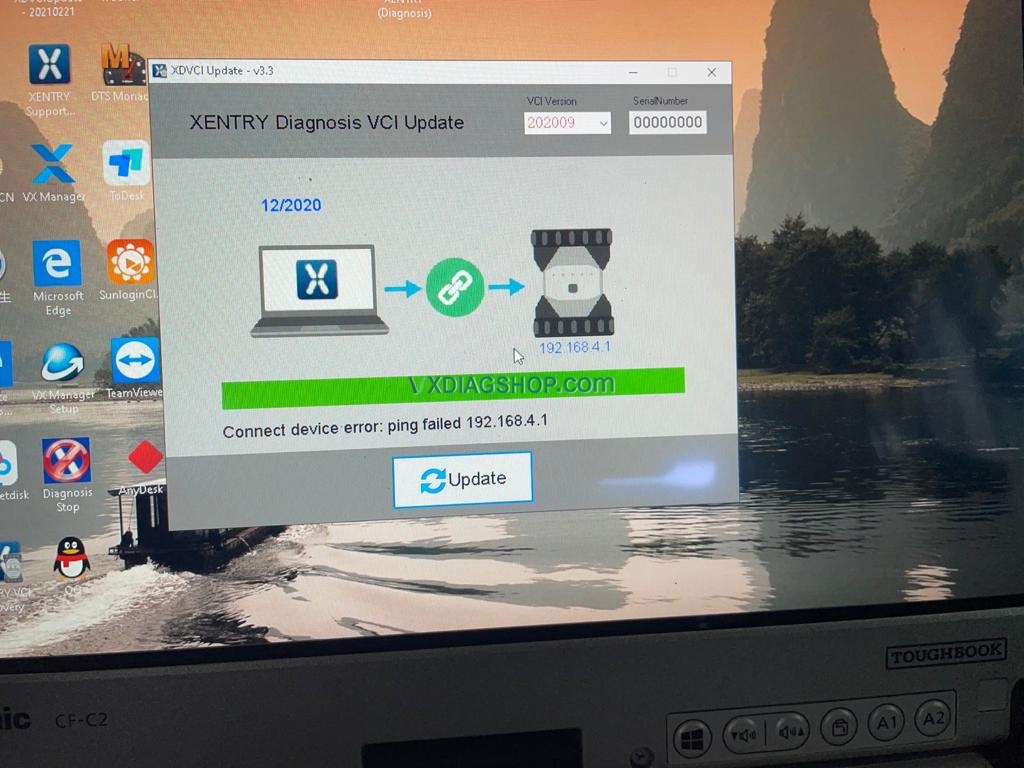
When I open XDVCI Update V3.3 to run Xentry Diagnosis VCI Update, it gave me error: connect device error: ping failed 192.168.4.1. I have VXDIAG Benz C6 with Xentry Diagnosis 12 / 2020.
Look at this error screenshot:
vxdiageshop.com engineer gave the solution:
- Connect your device to the car and the computer
- Go to www.vxdiag.net to download and install the latest version of vx manager 1.84 software
- Install the “XDVCIUpdate-20210221.exe” file by downloading from the mega below:
https://mega.nz/file/HUJxmCIA#z7YJ1-rDxD-bamXgL-jMO9BuD-2NjufGkMHWzoTMIMg
Good luck!