How to Solve VXDIAG Ford cannot find device error?
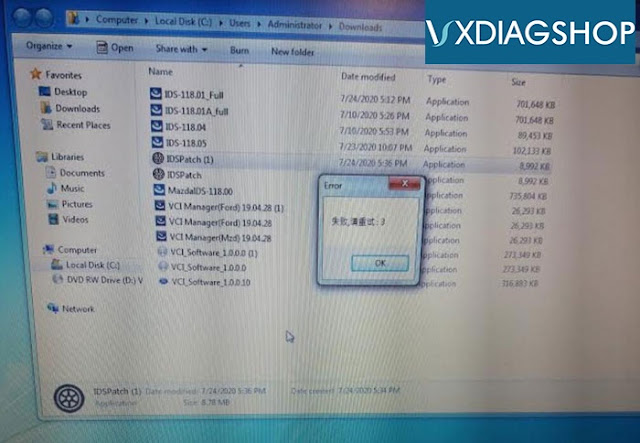
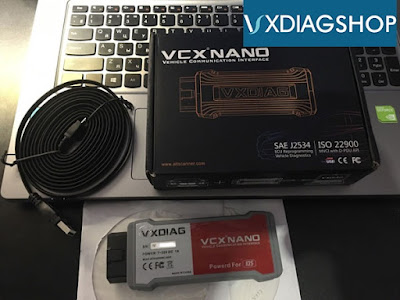
Problem:I downloaded VXDIAG VCX NANO Ford IDS and patch files then tried to open patch and this comes up
"Error Failure, try again: 3"
Then i followed your advice to delete IDS patch file, then download to try again. I have antivirus and firewall disabled as well.
But still struggling to get ford ids working
I downloaded and installed the software you sent.
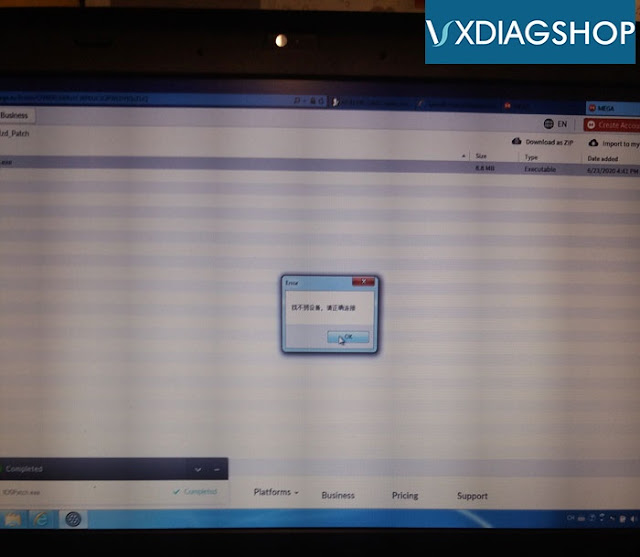
but I cannot get the patch to open, I get the error message attached
"cannot find device"
Vxdiagshop.com Solution:
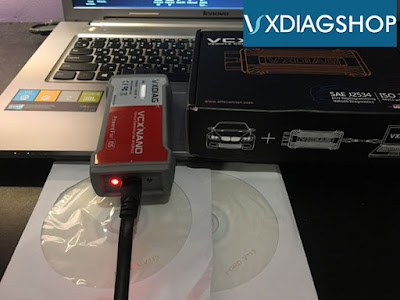
Engineer says that you did not connect vcx nano device, or you did not install driver well.
Only when the device been recognized , you are able to run the IDS software.
Feedback:
Connected vxdiag ford device and all works well !!
Thank you again !!!
Porsche PIWIS II and PIWIS III Clone Reviews
It is a nice laptop with a touch screen and a screen pen included. The Porsche software starts automatically, but the Microsoft button functions and you can do other things at the same time such as TeamViewer or open an internet page. The VCI ( the part that connects to the diagnostic port) is smaller and the cable connecting is shorter, but it is a standard USB to miniUSB cable so you can purchase an longer one anywhere.
The tester can be changed from after sales mode to developer mode which allows for a lot of special features ( looking at you who want to disable start stop permanently). The software is faster, and easier to use than the previous version. For example on the diagnostic program, the tester auto detects the car model. Just plug it in, turn the key on and it does its thing. For me, I'm not sure if it is a function of the unit I have or not but the guided fault finding works well. Click on any fault and press the fault finding button and the unit tries to provide you a diagnostic plan. The plan is better and the English description is better. I haven't tried the wiring diagram software but I imagine it works as well as the previous version.
There is a new ODBC program on the unit that reads standard ODBC codes, I am wondering if this unit can be used for other cars for simple code reading. I will try it on a buddy's car next week and let you know. There is a oscilloscope function and a multimeter function but the laptop clones don't come with these cables.
The PT3G interface runs on my 996 Turbo and I've used it to PPI 2018 Panamera Cayenne and a 2019 911 with no problems.
All in all it is a better tool but really can't do more than the 2 can do, only faster and on cars from model year 2018 to current which the 2 can't do.
www.vxdiagshop.com
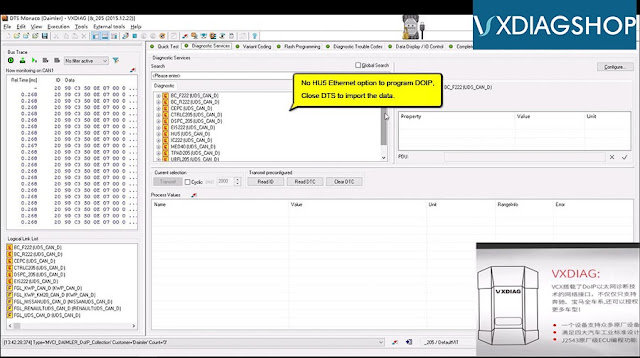
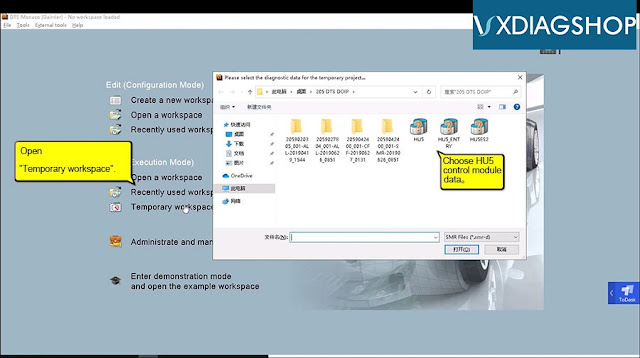
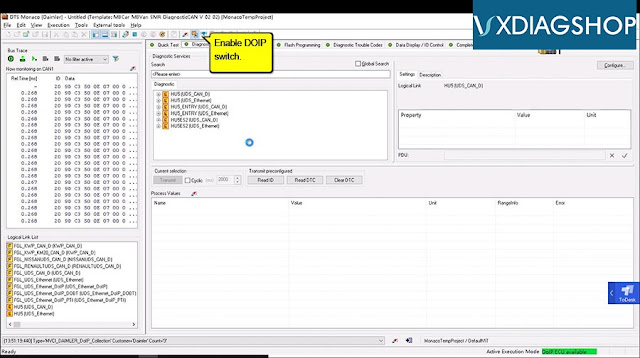
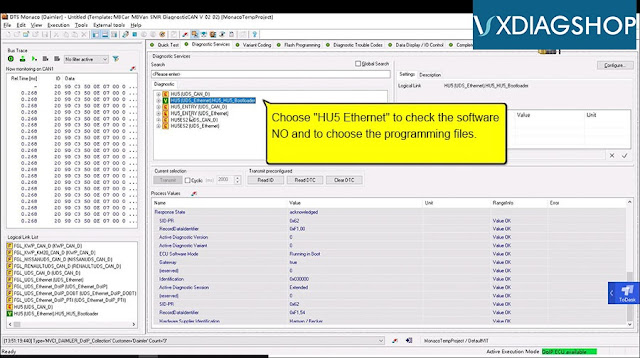
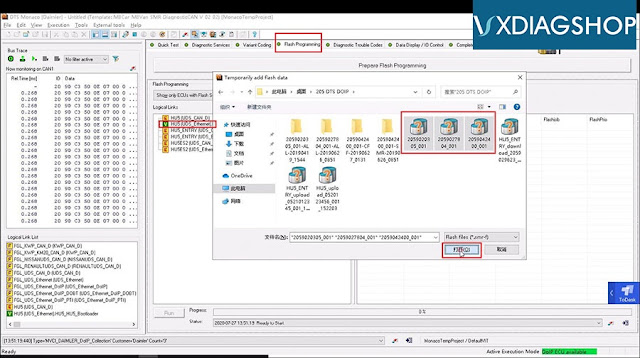
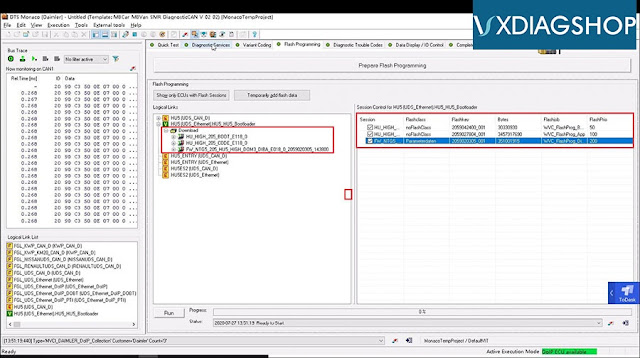
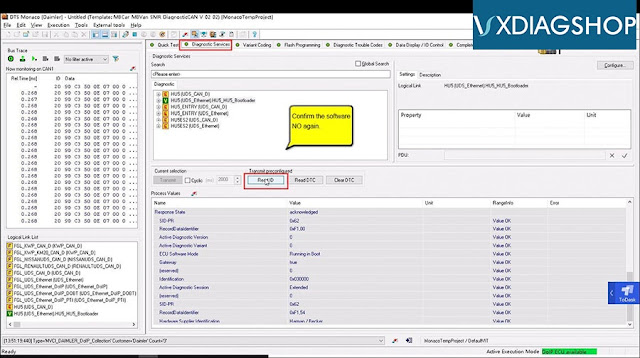
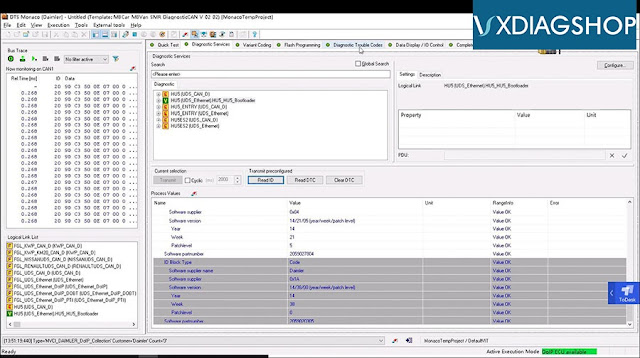
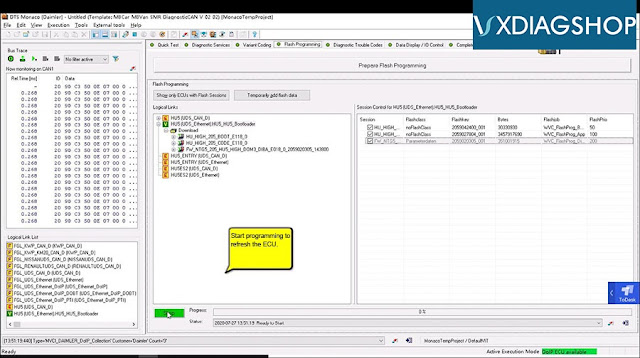
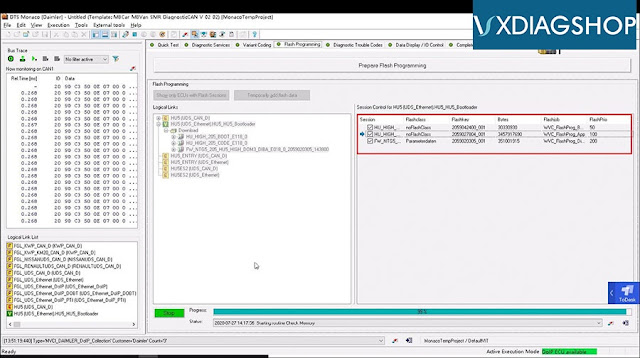
DTS Monaco flash programming HU05 control module
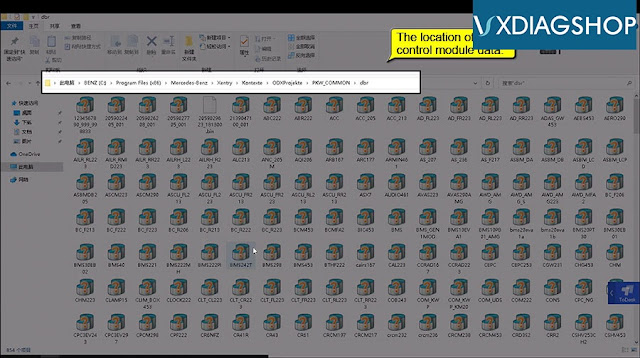
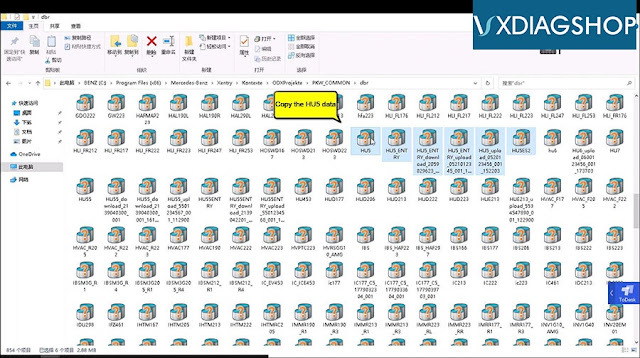
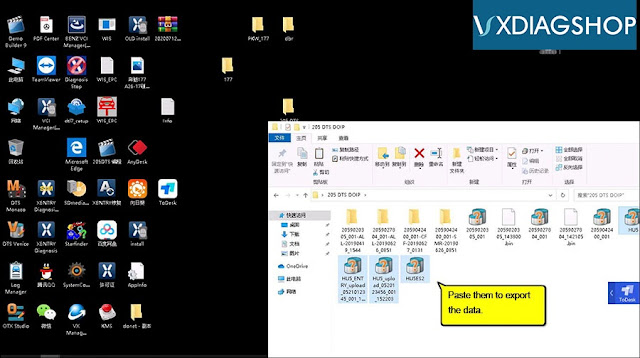
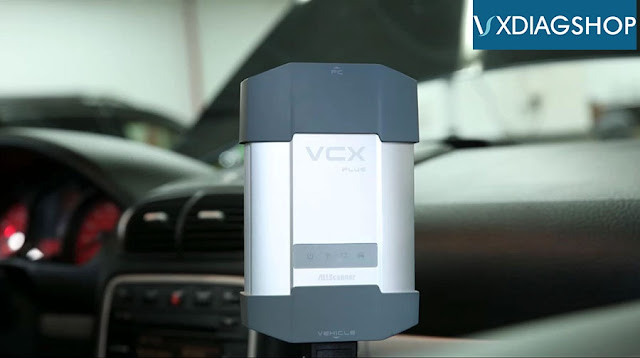
HU5 control module data from "Xentry Diagnosis" needs export,And then DTS Monaco engineering software from where import to perform programming smoothly.Connect VXDIAG Benz c6 multiplexer:
VXDIAG VCX C6 is a nice DOIP programming tool.
VXDIAG VCX NANO Mazda IDS CX-7 Review
There is vxdiag vcx nano Ford/Mazda 2-in-1 device whichw bought on Chinese 6.18 promotion. Naturally, this is a Chinese clone of the expensive VCM IDS dealer device.According to the description- the device fully works with IDS software, and can also be friendly with any software that supports the J2534 PassThru standard.
I decided to diagnose and program module by myself. BTW, I am driving a Mazda CX-7 Turbo-fashion.
The package arrived on time. I got the USB version because I am not good at WiFi stuff.
The scanner has identified the car.
With the help of MazdaExtendProg file, he moved the trial period of coding and programming by 120 days.
Mazda Module Programming
So far, everything is smooth, it works stably, the impressions are good.
https://www.vxdiagshop.com/service/vxdiag-vcx-nano-review-on-mazda-cx7.html
VXDIAG VCX NANO GM 2011 Volt SPS Programming
With SPS you can update the ecu software ( gm calls it calibration). Other tweaks can be done with gds2 offline.
I just did SPS programming with my 2011 Volt and here are the notes I made to myself so I could remember what I did. Hope it helps.
Preparation:
-Download newer version of software on vxdiagshop.com website, not the older version provided on the CD.
-Both the downloaded and the CD version of the file GDS2AutoInstall\GDS2Install\GDS2.exe are reported to have a virus by both Windows 10 Defender (on the Win10 laptop) and Comodo (on the eePC laptop). One needs to turn off all virus protection to get the GDS2 package to install.
I have not been able to get the Tech2Win software to work on Windows 10. The Tech2Win installer and the GDS2 installer seem to use different versions of the GM MDI package, so the order of install may matter quite a bit. But i have managed to get it working on Windows 7 32bit.
Note:The Volt has TWO OBDII connectors, one on the driver’s side and one on the passenger side. I could only get the driver’s side to work with the ACDelco SPS module upgrade software.
Generally want the car in Service Mode when messing with this stuff. Without touching the brake pedal, push the start button for 5-10 seconds.
What worked on the Window 10 x64 PC and Windows 7 x32 PC:
TO INSTALL VxDIAG provided software:
– Turn off virus protection (e.g. Windows Defender)
– Install VMWare-player. Use 15.5.1 on a Windows 10 x64, and 6.0.6 on 32 bit Windows 7 machines. I think 6.0.6 is the last VMWare-player to include 32bit OS support.
– Install the downloaded version of the VX Manager. This code seems to manage the interface to the VXDiag VCX Nano for GM dongle.
– Install the downloaded version of the GDS2 package using the autoinstaller (click on GDS2AutoInstall.exe)
– Now need to run VxManager with dongle attached. Go to the Diagnostic tab, and install the three drivers there (PASSTHRU, GM GDS2/T2W, SGM RDS). I always installed all three. Don’t think GDS2 will work without at least the GDS2/T2W driver.
TO USE:
– Start VxManager. This always has to be running first. Make sure it connects with with the dongle. Seems like the config can be set to AUTO and it still works. On Win7 it needed to be set to USB though.
– Start GDS2.exe.
– Click on the Diagnostics block in the upper left
– Select MDI2 Device (must be this device!)
– Could only get GDS2 to work on the driver’s side OBDII port. The passenger side OBDII won’t communicate.
INTERPRETING BATTERY CAPACITY: 2011 Volt shipped with 16 kWh battery (when new).
Battery Capacity is represented as a hex number, HH. It is readable at
Module Diagnostics\Hybrid Power Control Module 2\some reset grouping somewhere
To convert to kilo-watt-hours (kWh):
Convert HH to Decimal, DD.
DD/10 = AA Amp-hours
AA * 358 Volts / 1000 = battery capacity in kWh
For example, on 1/17/2020, with about 85000 miles on the car, we read a hex value of 0x179 = HH.
DD = 377, so 37.7 Amp-hours
37.7 Ah * 358 V /1000 = 13.5 kWh battery capacity.
13.5/16 = 84.3% of original capacity.
ACDelco Module upgrade software (https://www.acdelcotds.com/subscriptions)
This whole package seems to be a Java application, so will need Java installed.
TO INSTALL: (only tried this on Windows 10 x64)
– Click on the “View” button for our subscription to Vehicle Programming Software (bought the $40 one VIN only option)
– Click on the VIN
– Some informational screens may be displayed, need to scroll down to the bottom to click on OK buttons. One of these will be about installing new J2534 wrapper software.
– Click on SPS (Service Programming System) icon
– Click on “start SPS” button. This will download a java applet that will control the rest of the install process.
– At some point it will ask to install three new packages. Do NOT install a newer version of the GM MDI package (pick DO NOT INSTALL). Seems like we need to use the VXDiag supplied MDI to work with the dongle. The other two packages seem to have to do with the J2534 wrapper. I tried “version 6” for the bottom package, not version 7. It might work with version 7.
TO USE:
– Put the car in Service Mode. Without touching the brake pedal, push the start button for 5-10 seconds.
– Start VXManager software, make sure it connects to dongle.
– Select VXDiag GM interface in the SPS software java app.
– Could only get this all to work with the driver’s side OBDII connector. When installed on the passenger side OBDII connector, it complains with some “Detected Off-board programming!” error or something like that. So I couldn’t update modules only accessible from the passenger side OBDII.
– When I reprogram the brake module, it threw a hard service code and disabled brake assist (BE CAREFUL DRIVING THE CAR WITHOUT BRAKE ASSIST AS IT TAKES MUCH MORE PEDAL EFFORT TO APPLY THE BRAKES). I then needed to run GDS2 and do the learn procedures for that module. This cleared the code and got the brake assist working again.
